Other types of floors are less durable and functional than hardwood floors, so that many people choose hardwood floors to add a stunning look and increase the value of their home. It is possible to install hardwood floors on your own without using any special equipment.
This post will show you the best-known ways to install hardwood floors, and I guarantee it’s worth reading. Without hesitation, let’s move on!
Select Your Wood
First of all, you have to choose the type of wood flooring that matches your home decor and your expenditure.
Solid Hardwood Floors
Solid hardwood floors can be a great option since they add elegance and a vintage look to your home. For a long time, solid hardwood floors are the preferred flooring material as they can be sanded and refinished several times, so they can even last 100 years or longer. However, hardwoods are susceptible to changes in humidity levels, so that precautions must be taken. Installing solid hardwood floors requires the nailed-down method, which requires the wood subfloor.
In case you do not have a wood subfloor, you should consider other floor options. You can install solid hardwood floors in living rooms, dining room, kitchen, and bedroom. And notably, solid hardwoods should not be installed in basements or bathrooms.
See also:
- Top 15 Best Vacuums for Hardwood Floors and Pet Hairs in 2023
- Top 15 Best Vacuum Cleaners for Hardwood Floors Reviews 2023
- How To Clean Travertine Floors? – The Ultimate Guide 2023
- 8 Hardwood Floor Alternatives That Look Like Real
- How Much Does Wood Flooring Cost?
- Top 10 Best Linoleum Floor Cleaners To Buy 2023
- How To Clean Concrete Floors? – The Complete Guide 2023
- Top 15 Best Concrete Cleaner Reviews in 2023
Engineered Hardwood Floors
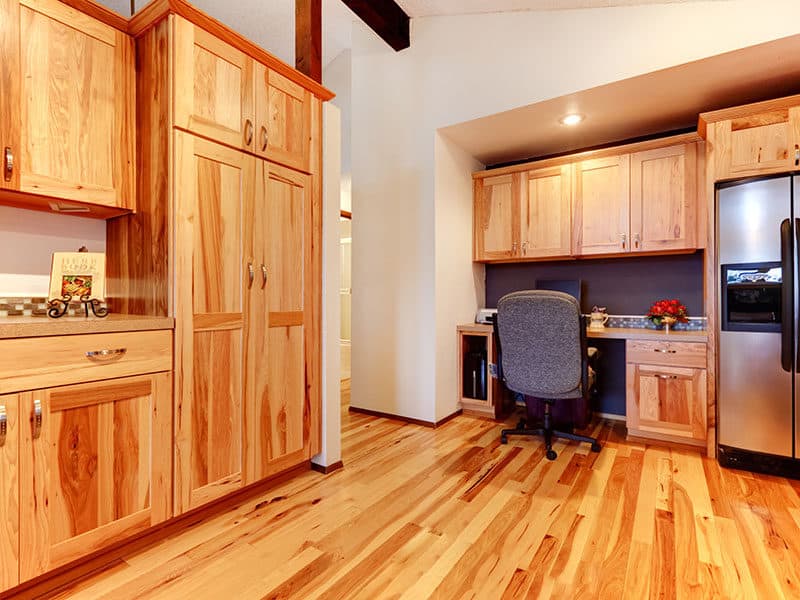
Compared with solid hardwood floors, engineered hardwood floors are less prone to warping due to moisture levels. Therefore, you can install engineered hardwood floors anywhere in your house.
Engineered hardwood floors will upgrade your living space with a sleeker and modern look. Since this type of hardwood flooring is made of serval thin layers, it is much easier to install, and you can also install it on top of concrete or tile.
Prefinished or. Unfinished
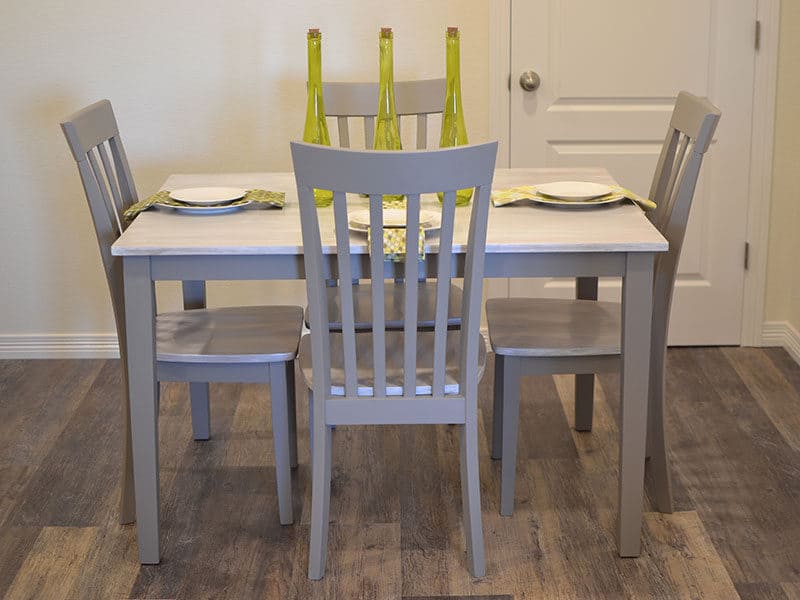
There are several types of wood floors available. Apart from choosing between solid wood planks or plywood with a hardwood veneer layer (engineered hardwood floors), you also need to consider whether you need pre-finished or unfinished hardwood floors.
With unfinished hardwood floors, you have to finish and sand the surfaces after installing. Solid and engineered hardwood floors are now available in the pre-finished form with a wide range of colors, and there is also a lengthy warranty from the manufacturers so that you need not worry much.
Both unfinished and pre-finished hardwood floors come with tongue-and-groove edges on both sides. They come with 3/4-inch thickness and low-profile types ranging from 5/16 to 5/8-inch thick, which are ideal for covering existing flooring.
When installing, be careful not to damage the finished surface. Alternatively, installing prefinished hardwood installation is not kind of complicated compared with unfinished hardwood. Both the two finish types require little woodworking skills.
Do you want to learn the difference between pre-finished and unfinished hardwood floors? If yes, the following video is worth reading!
Each type of hardwood floor requires different installing methods, so that I will show you the most intelligent guide to install both solid and engineered hardwood floors.
How To Install Solid Hardwood Floors?
Here is the step-by-step guide to installing solid hardwood floors, from preparing the subfloor to sanding and finishing.
Where To Begin?
You will have to prepare the installation area, the subfloor, and solid wood planks and gather all the necessary tools.
1. Prepare The Working Area
First of all, you need to calculate the square footage of the installation area by multiplying the width and length of the surface. Remember to add 10% when buying solid hardwood floors since you also have to cut and fit the wood planks.
In case you run out of wood planks while you are installing, you need to order more, but you may likely end up with wood that isn’t precisely the same color or size. That’s why you should add 10% to prevent this case.
2. Leave Time For The Wood To Acclimate
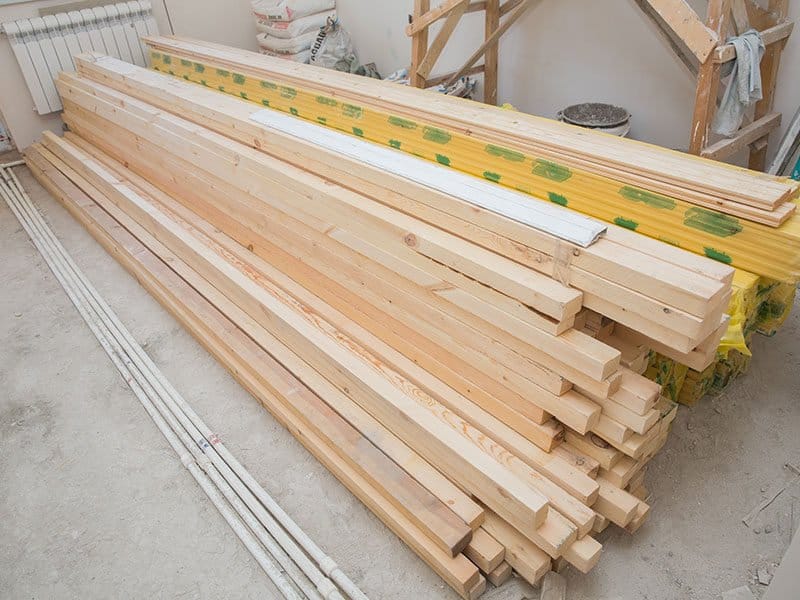
Before installing, you should let the wood adjust to your home’s temperature by stacking the wood planks in where you will install them for at least three days. If the place has just been constructed, make sure the working space is always heated or cooled to ordinary, lived-in temperatures.
Temperature can also affect the wood planks. Ideally, the solid hardwood floors should be installed in the fall or spring, when the weather is not too hot or too cold.
3. Collect The Required Equipment
You will need a greater number of equipment and materials for your project. Here I will list the essential equipment you have to gather!
- Baseboard molding and transitions
- Drill + required drill bits
- Set of hammer and nails
- Nails and finishing nails
- Spacers
- Pry bar, mallet, and tapping block
- Measuring tools
- Miter saw/ circular saw
- Flooring nailer (optional, but recommended). The flooring nailer should have a protective boot. Otherwise, your hardwood floors may be damaged.
- #15 asphalt-saturated felt (tar paper)
- Red rosin paper
- Staple gun/ staple tacker
- Wood putty (also called plastic wood, optional)
- Face protection/ eye coverings and knee pads are necessary safety devices.
Some larger equipment such as flooring nailers can be rented from your local hardware store. You may have to buy other small items such as nails.
4. Prepare The Subfloor
Your subfloor must be prepared for the installation of hardwood floors. Remember to think about stuff like door jambs.
- Step 1: Connect the substrate to the joists with wood or drywall screws.
- Step 2: You may have to get rid of any squeaks by running a long screw through the sub-floor and the floor joists.
- Step 3: Eliminate any base or shoe molding from the room’s perimeter.
- Step 4: Keep debris and unnecessary objects away from the work area using a vacuum for hardwood floors.
- Step 5: Block the doorways since even a minor pump can affect the installation process.
Install The Solid Hardwood Floors In 10 Steps
After everything is ready, it’s time to start the project!
1. Install A Vapor Barrier
A consistent vapor barrier will be required underneath the hardwood floors. In this case, you can use the #15 asphalt-saturated felt (tar paper). If moisture is not a problem at all, you can make use of red rosin paper as a “slip sheet” between hardwood floors and the subfloor.
Friction between the wood layers causes floor squeaks, and the “slip sheet” will help reduce or get rid of this problem.
- Step 1: Roll out the paper and leave about 4 inches of overlap between each sheet’s edge.
- Step 2: Flatten out the wrinkles or bumps
- Step 3: Glue the paper to the sub-floor with a staple tacker or a heavy-duty staple.
2. Organize The Installation Surface
To ensure optimum durability and stability, manufacturers suggest mounting hardwood floors straight-up to or across the floor joists. However, hardwood floors that are installed perpendicular to the longest dimension of the surface are usually more appealing than flooring that is installed around shorter width of the floor.
Furthermore, starting with an unobstructed wall and installing long, straight rows helps with keeping rows parallel.
Tips for Sorting the Hardwood Planks
Organizing and setting out the wood planks is just as necessary as nailing them down. I have a few suggestions for selecting and arranging wood boards.
- Sorting by grain’s quality
The reason behind dividing them is to maintain an equal distribution of the truly distinguished bits, so they aren’t all stacked up in one section. Moreover, you can also prevent them from ending up in secret corners or under cabinets.
- Sorting by size
It’s a smart idea to vary the board’s length to add movement and contrast. Moreover, you can grab a board that perfectly suits your needs after sorting the wood planks by size.
3. Place The First Board
Place the first board in the working area with the tongued edge facing out. The board should indeed be aligned with the room while providing a tiny gap at the wall for expansion (you should also consult the manufacturer’s recommendations and measuring guidelines). And fill in the gaps with spacers.
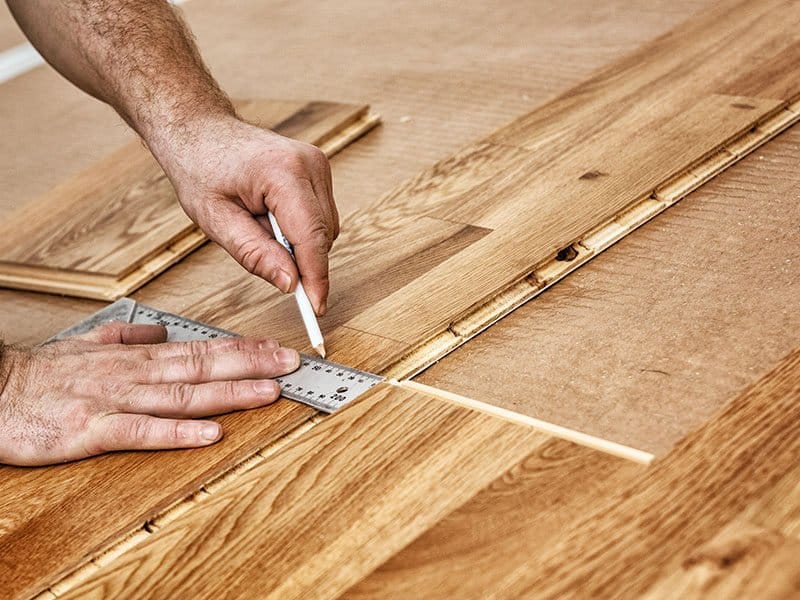
Note: Measuring guidelines are set by trying to find the midpoint of each wall and drawing a line between them, forming a cross in the room center. Mark the suggested expansion distance of the manufacturer where one of these lines meets the wall, then draw a line perpendicular to the centerline at that point.
4. Attach The Boards To The Subfloor With Nails
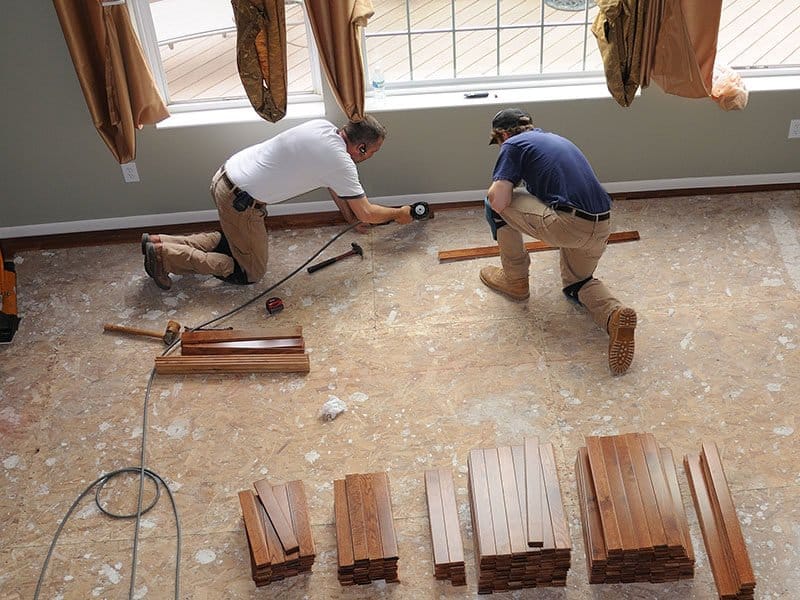
Here is the easy 3-step formula to nail the board into the subfloors.
- #Step 1: Create guide holes by using the drill
- #Step 2: Use a hammer to nail the board to the subfloor, place the nails about 1 to 3” from the plank’s end, 0.5” from the groove side, and 6” down the board
- #Step 3: Finish the process using a nail kit
5. Attach The Boards To Each Other
After you complete installing the first floor, position the next floor so that the tongue of the first floor fits into the groove. It will be best if you organize the boards in a counterbalanced layout, starting about six inches from the previous board’s end. Next, tap the boards together by a mallet and a tapping block.
6. Go On And Install The 3 First Rows
You should install the first three rows followed the methods I described in section 3. The first three rows have to be installed in the same manner.
Note: Don’t forget to cut trim the boards to the appropriate size.
- Due to the staggered nature of the solid hardwood boards, it is vital that you cut boards to fill in the gaps at the end of the rows.
- Measure the necessary distance while considering the expansion gap, and use a saw to cut the boards.
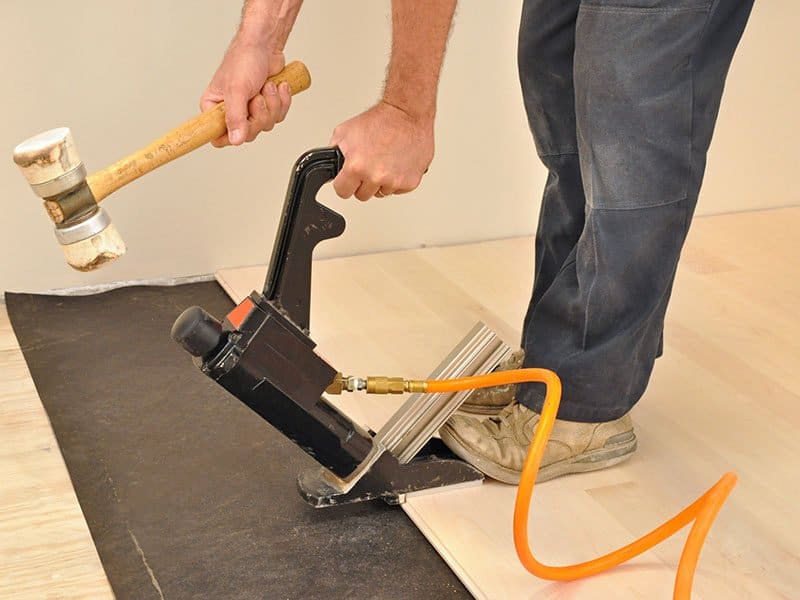
7. It’s Time To Use A Flooring Nailer
Although you can install the whole area using a hammer and nails, using the flooring nailer can be more effortless and time-saving. After the three first rows, you can start using the flooring nailer.
And it is ideal to use the flooring nailer as soon as you have enough space since you may find it challenging to use a flooring nailer when you nearly reach the wall or obstacles.
Is it challenging to use a flooring nailer? The answer is No since you just need to quickly line the flooring nailer up with the hardwood boards and hit it.
8. Complete The Last Few Rows
As I said above, there will be restricted space for flooring nailer when you have come to the last few rows. In this case, just drill guide holes and nail the boards using a hammer, carry out the task like the beginning.
9. Install The Final Board
The final board should be cut to size if it doesn’t fit well. Remember to measure the surface carefully and cut the final board with a circular saw or miter saw.
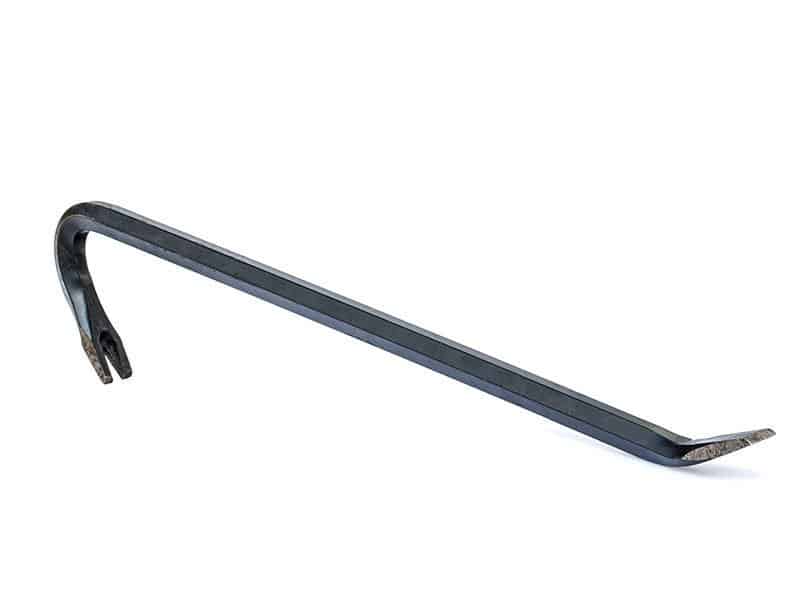
Next, you can use the crowbar to position the final solid hardwood board. You cannot use a mallet to tap them because there will not be enough space. In this case, it is ideal for pushing them into position with a crowbar.
10. Complete The Process With A Few Finishing Touches
After laying out all the boards, carry out some small tasks below to finish the installing process.
-
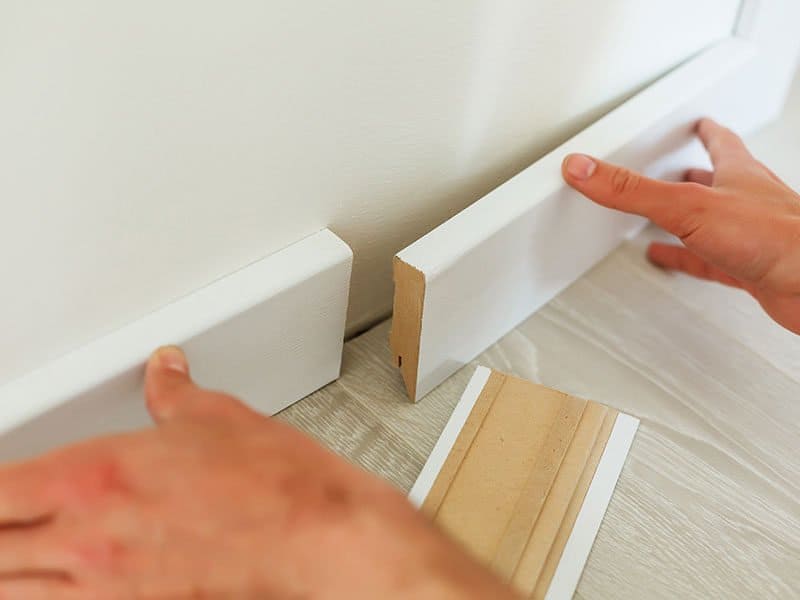
Install Baseboards:
It’s time to install baseboard trim (which is typically a form of molding) in the position that the floor and the wall meet each other. The style of baseboard is entirely up to your likings as well as your needs and the room decor.
-
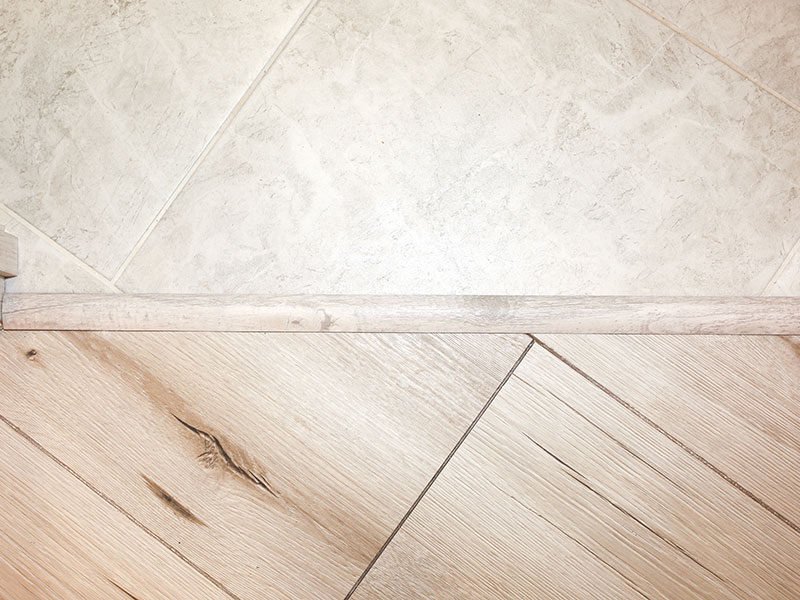
Install Transitions And Trims:
Trim and transitions can be added in doorways or a part of the room with a separate floor covering. You can install transitions and trims in the place that floors and walls do not meet each other.
This is typically a very straightforward procedure. You should cut the transitions and trims to the appropriate size and assemble them as directed by the manufacturer.
-
Cover Holes With Wood Putty
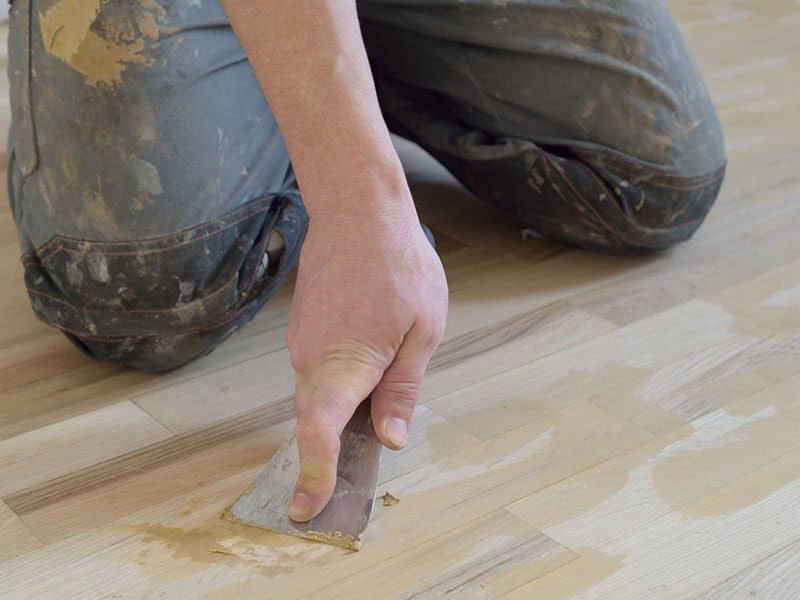
Covering the holes caused by nails is an excellent idea since those holes will accumulate soil and other unwanted stuff. Make sure that you purchase the wood putty with the same color as your solid hardwood floors for a better result.
Let’s watch the video below, and you will easily imagine how to install solid hardwood floors!
How To Install Engineered Hardwood Floors?
Engineered hardwood floors also have the warm and gorgeous look of solid hardwood floors, but the price is quite more affordable than solid ones. Before installing engineered hardwood floors, you will need to prepare the subfloor and select the installation method.
You should not install engineered hardwood floors in areas where it may be exposed to moisture, such as a kitchen, bathroom, laundry room, or deck. Moreover, you should also avoid using engineered hardwood floors in high-traffic areas because printed patterns can fade as time flies.
And I am going to show you both the three installation methods: gluing down, floating, or nailing down.
Where To Begin?
First of all, preparing the engineered hardwood pieces and preparing the subfloor is necessary.
1. Prepare The Installation Surface
You will need to calculate the square footage of your installation surface by multiplying the width and length of the surface. One tip for measuring the square footage of the floor is that you should bear in mind 1 square meter is about 10.5 square feet.
The flooring pattern you love will determine how much you need. In case you plan to install the engineered hardwood boards straight, you must add 5-7 percent extra square footage to cover for excess. With a herringbone pattern, you should add 15 percent additional square footage.
2. Prepare The Engineered Hardwood Boards
Let me show some tips to choose engineered hardwood boards as well as store them before installing!
Step 1: Make An Order
You can order the engineered hardwood floorings from many locations, including flooring wholesalers, home improvement shops, shopping online, and contractors. It will be best if you consult the price online as you are likely to find some promotions.
Step 2: Let The Engineered Hardwood Boards Acclimate
It takes about 3 or 4 days for the engineered hardwood boards to acclimate. Leave the engineered hardwood boards on the floor where they will be installed. You should also check that the boards lay flat and not rubbing against something that might make them warm.
Remember to leave the wood boards there for at least three days to help them adjust to the temperature and expand or contract as needed. In case you have newly built fresh drywall or plaster, it is ideal to wait for at least one week before opening the engineered hardwood boxes.
Note:
- Do not store the engineered hardwood boards in the garage or basement. The moisture in these places is detrimental to engineered hardwoods, and it has the potential to warp the wood and damage it.
3. Gather The Required Tools
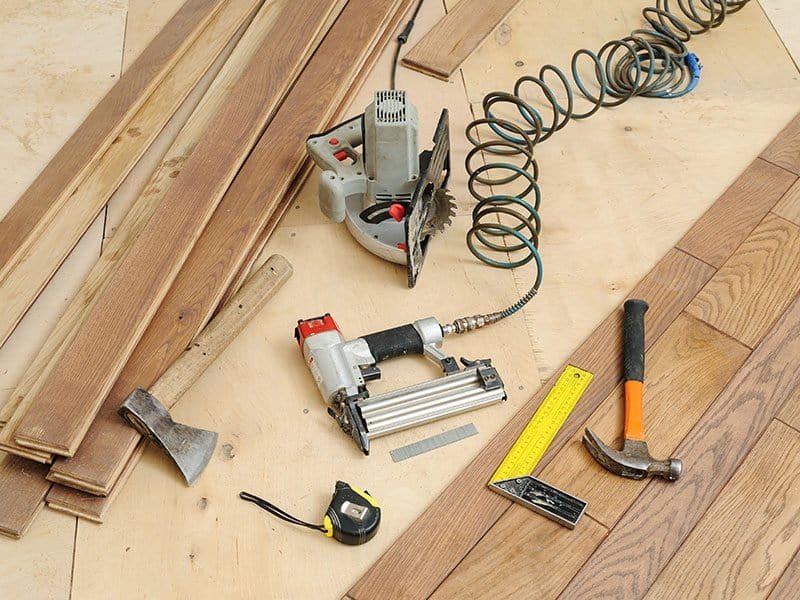
Here I will list some essential tools you will need to collect to finish the task:
- Razor knife
- Pry bar, flat bar
- Mallet/Hammer and nails
- Phillips-head screws
- Sander: you can rent the sander from the home improvement stores
- Patching compound
- Handsaw
- Vacuum
- 15 lb builder’s felt
- Spacer
- Pneumatic nail gun (optional)
For Floating And Gluing Down Method
- Tapping block
- Painter tap
- Glue
- Trowel
4. Prepare The Subfloor
Before laying down the engineered hardwood boards, you have to carry out 6 steps for preparing the subfloor.
Step 1: Take Off The Remaining Baseboards
To remove the remaining baseboard, you need to use a razor knife to cut through the caulk in the position that the walls and baseboards meet. After that, place the pry bar at the rear of the top baseboard.
Use a hammer to gently tap it down until you see that the pry bar is halfway down the wall behind the baseboards. Keep doing this around the baseboard until it is totally detached from the walls.
Step 2: Remove All Other Impediments
Next, you will have to remove all the obstructions such as vent grates, baseboard heater end caps, and all else. Additionally, you should keep the components of these items carefully so that you can quickly assemble them after finishing installing the floors.
Step 3: Check The Squeaks
Pay attention to squeaks as you walk around the subfloor. In case you hear squeaks in some parts of the subfloor, dig Phillips-head screws straight into that spots. You have to make sure that the screw tightens the subfloor and puts an end to the squeaks.
Step 4: Remove Bumps
It’s time to use the sander. As I mentioned above, you can rent the large sander at the home improvement center. Remember to start slowly when you are leveling up bumps, as you will not want to sand so far down.
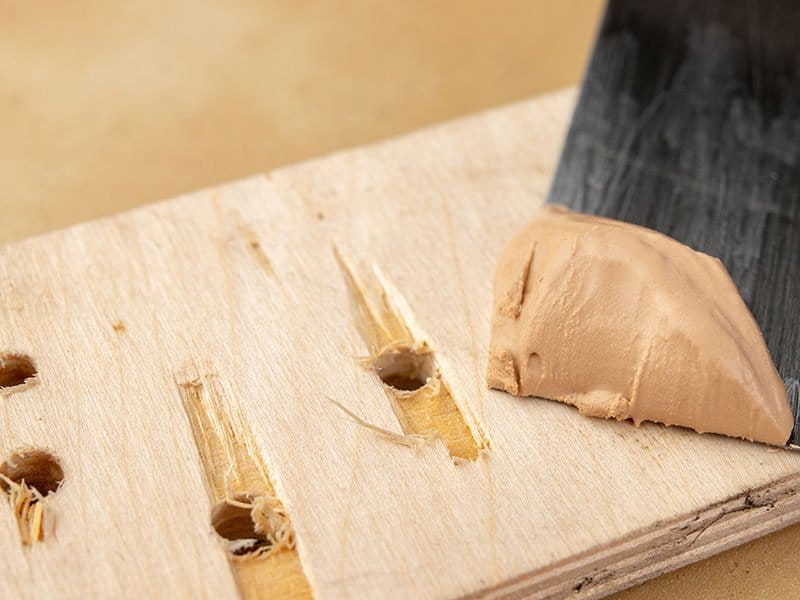
Step 5: Fill Up Any Depressions With Patching Compound
To treat the dents or divots caused by screws, you can use the patching compound. It is recommended that you should sand the patching compound by hand since the industrial sander is too powerful for the subfloor.
The patching compound is just the same as what you use to fill up the holes in the drywall. Use this mixture to fill up any depressions deeper than 1/8 inch and allow them to dry. Finally, sanding it evenly with the rest of the surface.
Step 6: Trim The Doorways Bottom In Case The New Flooring Won’t Fit
Since the new engineered hardwood floors can be thicker than the old ones, you will have to leave more clearance under the doorways. Leave one board of the new floors in front of the door jamb’s bottom.
After that, place a handsaw on top of the floorboard and gently see through the jamb. Do the same thing on the other door side and repeat the process for other room doors.
Step 7: Clean The Subfloor
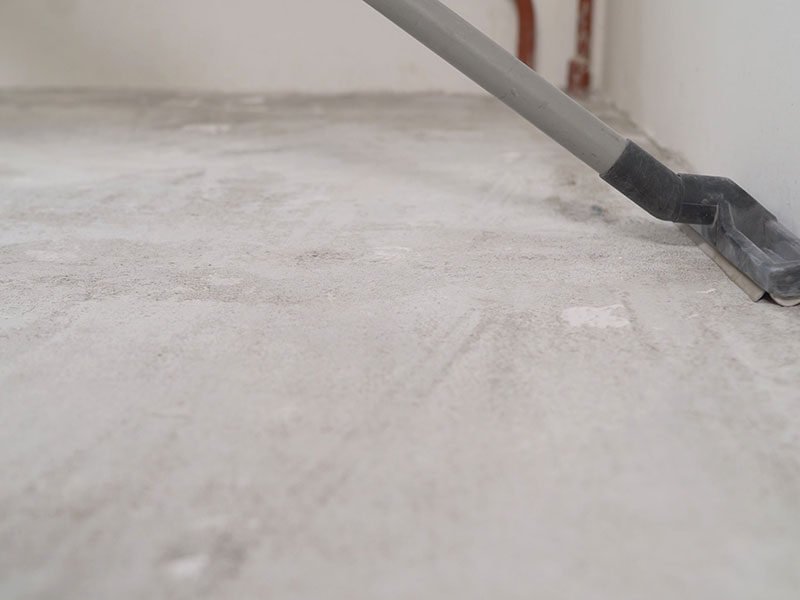
Make sure you have a high-performance vacuum cleaner to remove all the debris after you have sanded, sawn, and filled up the subfloor. If you have a concrete subfloor, remember to use the vacuum cleaner specialized for concrete floors. The subfloor should be completely clean since any remaining debris will make your engineered hardwoods appear imperfect.
3 Effective Methods To Install Engineered Hardwood Floors
Whether you want to nail down, glue down, or install floating engineered hardwood floors, here I provide you with detailed ways to carry out the task.
Method 1: Nailing Down
Follow the 9 steps below to get flawless results. Let’s start!
Step 1: Use Builder’s Felt To Cover The Subfloor
You will need about 15 pounds of builder’s felt. Pull the felt in the same line that you are going to install your new engineered hardwood floors. You certainly cannot fill the entire subfloor with a single piece of felt, and you can place the builder’s felt so that the edge touch.
Next, pick up the hammer tacker to staple down the edges of the felt every 4 feet and within 1/2 inch of the wall. After finishing covering the subfloor with the builder’s felt, you also need to hammer down the staples that are not even with the subfloor.
Step 2: Place The Spacers
When you purchase the new wood flooring, spacers are usually included. In case they do not come with the order, you can find them at the local home improvement stores.
The spacers should come with ½ inch in thickness, and you need to place it about 4 inches against the wall and where you will lay down the first row of engineered hardwood floors on the adjacent wall. By doing this, you can maintain the spacing of the flooring, which prevents it from buckling.
Step 3: Install The First Row
You should start at the room’s longest exterior wall and place the first row here. The first board of engineered hardwood should be placed so that its grooved edge is against the spacers.
Connecting the next board of wood to the first one to form a long strip around the wall. Tap the ends of each strip with a mallet to ensure they fit nicely with each other.
Step 4: Create A Straightedge Against The First Row’s Tongues
Each piece of engineered hardwood floors should have a tongue on the front edge, which is the small bit that sticks out. What you need to do is create a straightedge against the tongues of the first rows and move the wood floors forward until every board is even with the straightedge.
Step 5: Nail Each Wood Board
After installing the first row, you have to nail the wood board to the wall within 1 inch to safeguards the first row and avoid unwanted movements as you stack additional rows. Use the 1.5-inch nails and nail the wood board every 8 inches.
Step 6: Toenail The First Row
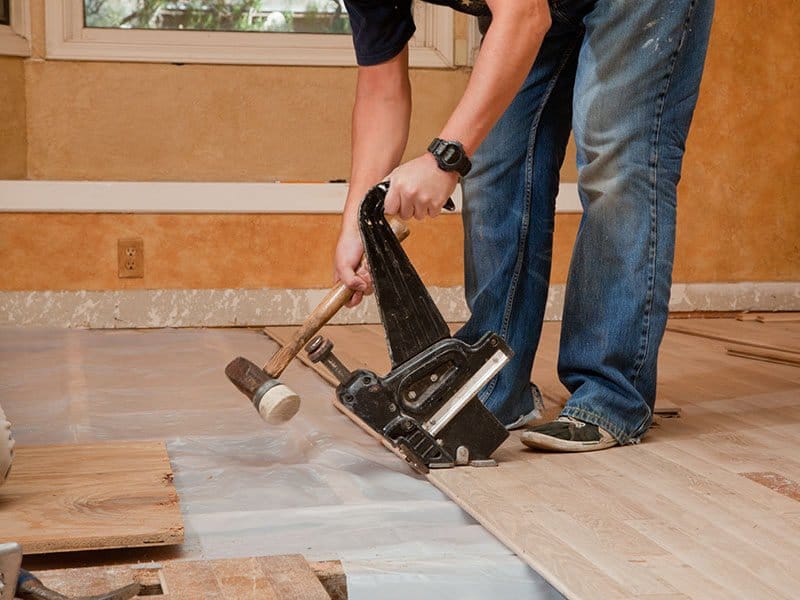
After nailing down the first row to the board, it is vital to toenail it. Instead of using a standard hammer and nails, you can seek the help of the pneumatic nail gun to make the task faster and more effortless.
This process means you drive the 1.5-inch nail into the tongue of the wood boards at a 45-degree angle. Continue toenailing every 4 inches to the edge closest to the adjacent wall.
Step 7: Install The Second Row
If you install the second row with the edges that line up exactly with the first row, it will ruin the appearance of the engineered hardwood floors. Therefore, you have to choose the wood boards with different lengths so that the second row won’t match up with the first row. Typically, counterbalance the end joints by about 12 inches.
When the second row of flooring has been built, and the end-joints have been staggered. Pick up a mallet or a hammer and a tapping block to align the rows tightly with each other. After that, you also have to toenail the second row.
Note:
- Remember to place the tapping block in front of the wood row and tap softly.
- Hitting the tapping block so hard will damage the floor’s tongue.
- Toenail every 4 inches and no closer than 2 inches into the tongues.
Step 8: Repeat The Process
Just repeat the process like what you have done with the second row. When you have nearly reached the last row, consult step 9.
Step 9: Leaves Ample Spaces For The Trim
Between the last row and the walls, you have to leave about ½ inch. Use the handsaw or table saw to cut the tongue of the final row.
Step 10: Fasten The Trim
Using a brad nailer to secure the trim in place. The purpose of the trim is to close the gap between the flooring’s edge and the wall. Lay the trim down and use a pull bar to move them to the last row of the floor. Nail them down evenly with the first row.
If you plan to install your engineered hardwood floors with the nailed-down method, I think the following video can be of great help!
Method 2: Gluing Down (For Concrete Subfloor)
When installing engineered hardwood floors on concrete floors, I think you should apply the gluing down method.
Step 1: Add Underlayment
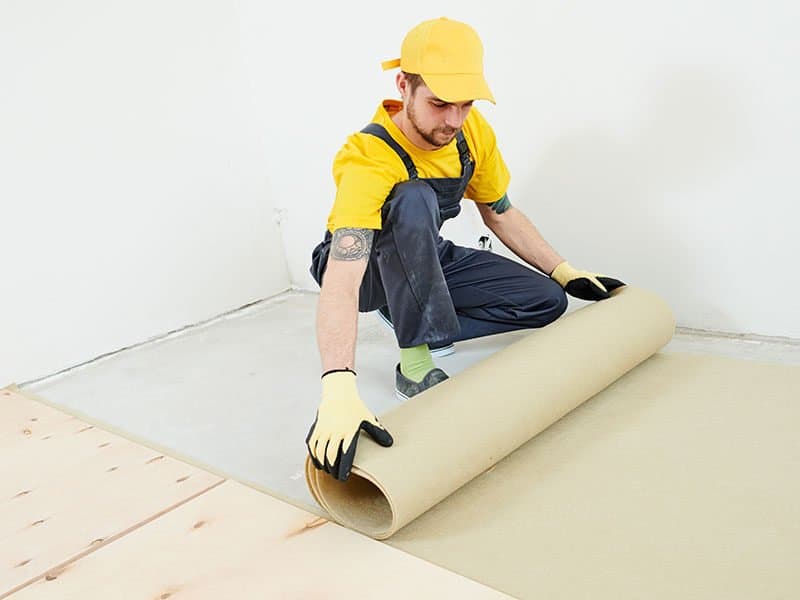
Some manufacturers recommend that you place the underlayment between the engineered hardwood floors and the concrete subfloors to prevent the flooring from sliding. Adding underlayment also helps reduce noise and make the floor more comfortable to step on.
You can choose foam, wood, cement sheet, or stiff, thin coating for underlayment material. Since plywood can be nailed into place around the sides, it is a common option.
Step 2: Place The Spacers
Each manufacturer has specific spacing specifications, so read the instructions carefully. In case the spacers do not come with your order, you can easily find them at the home improvement stores.
Step 3: Pour The Glue
Pour enough amount of glue to cover the span of two or three boards. Using the trowel to scrape the bucket’s side to avoid drips.
Step 4: Spread The Glue
To spread the glue, you also use the trowel. Remember to keep the trowel at the 45 degrees angle to the surface. While spreading the glue, making sure the trowel’s teeth are in contact with the concrete.
Only spread enough glue to fit on two or three rows because it will get too dry too soon. If you are too worried that it will dry quickly, you can use spread less glue.
Step 5: Install The First Row
You should place the first row of wood floors inline against the spacers, with its tongue facing out into the area. When you lay down each board, make sure the edge of the new board is flush with the edge of the previous board.
Step 6: Install The Second Row
Place the second row’s groove over the first row’s tongue to guarantee each row and ensure no gaps. Like the nailed-down method, use a mallet and the tapping block to tap each new wood board gently. The new boards’ edges should be spaced about 6 inches from either end.
Notes:
- Not line up the second row to the first row to achieve a beautiful look
Step 7: Leave The Floor Dry For About A Day
After you have finished gluing the floor, leave it dry for 24 hours. In case you have not completed the task yet, you can also take a break and wait for 24 hours before stepping on the floor again.
Step 8: Install The Trims
As you have completed gluing down the engineered hardwood floors, it’s time to remove the spacers and install the trim between the wall and the floors. You can seek the help of the flat bar to hold the trim taut against the first row.
The following video is worth reading if you need a clearer view of how to glue down engineered hardwood floors!
Method 3: Floating
The floating method can be the perfect match for DIYers with little to no experience since it is user-friendly and takes less time.
There are 8 steps you have to follow:
Step 1: Install Underlayment
If you plan to install engineered hardwood floors over concrete floors, it is recommended to add underlayment to prevent movement and remove the crunching sound when you are walking on it.
Step 2: Place The Spacers
Like other methods, you also need to place spacers along the wall. Based on the manufacturers, the spaces between the walls and the flooring’s edge can vary, but it is usually about ½ inch. The spacers commonly come with wood boxes. If there aren’t, you can purchase them at the home improvement stores.
Step 3: Apply The Glue To The Groove
On each side of the wood board, there is a groove. And on the other side, there is a tongue. When assembled, they help the hardwood fit together with no gaps between the wood boards.
You will need to apply the glue to the groove of the wood boards. Lay the board on the floor and insert the next wood board’s tongue.
Step 4: Ensure A Tight Fit
Set a tapping block after you have inserted the tongue of the following wood board. Then gently tap the board with a hammer or a mallet to ensure a snug fit. When you tap the board, there may be some excess glue. You can use a wet rag to wipe away the remaining glue.
Step 5: Secure Each Row With Painter Tape
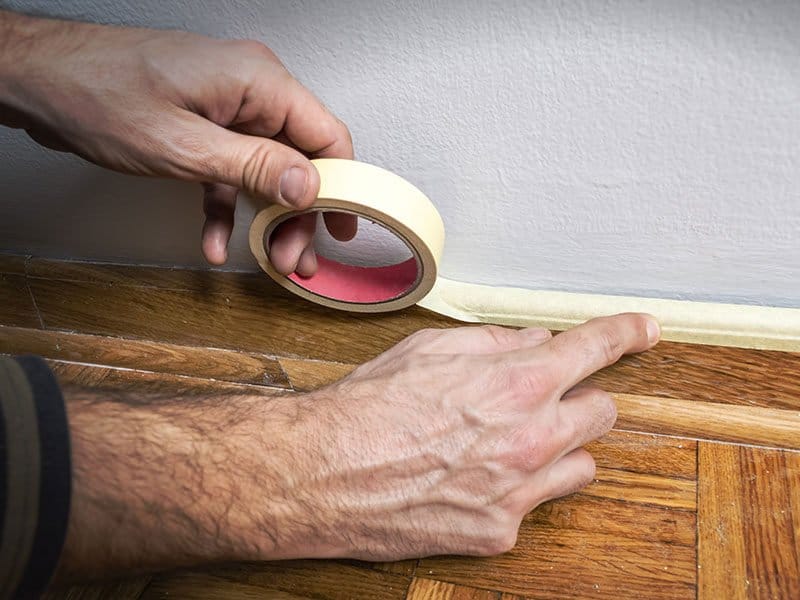
To secure the rows and prevent them from moving, you can use the painter tape to link one row to another with every 2–3 inches on each row.
Step 6: Tighten The Last Row With A Flat Bar
There will not be enough space between the wall and the last row for you to use the hammer and the tapping block like what you do with other rows. In this case, you can seek the help of the flat bar. You place the tapping block against the last row and tighten it with a flat bar.
Step 7: Install The Trim
Apply glue to the trim’s edge. Place the trim on the floor and push it against the last row’s side.
Step 8: Leave The Floor Dry
Wait for 24 hours! Then you can remove the tap and step on the floor.
In the video below, you can find the ways to install engineered floating engineered hardwood floors and the exciting finishing tips. Let’s watch it now!
What Should You Do After Installing Hardwood Floors?
After installing the gorgeous hardwood floors, there are some tips you should keep in mind to ensure you can keep it look last for years to come.
1. Control Humidity And Temperature
As you know, wood has a tendency to expand or contract as the weather changes. Improper maintenance may lead to cupping, gapping, and buckling.
Consult the table below for ideal temperature and humidity levels:
| Humidity levels | 60 to 80 degrees F |
| Temperature levels | 30 to 50 % |
To maintain adequate humidity and temperature levels depending on the season, here are some small tips:
- In the Dry/ Winter season: use a humidifier to avoid wood floor shrinkage caused by low humidity.

- In the Humid/ Summer season: use a dehumidifier to retain adequate humidity levels.
By doing this, you can ensure that your hardwood floors can last for years.

2. Clean Your Floor Frequently
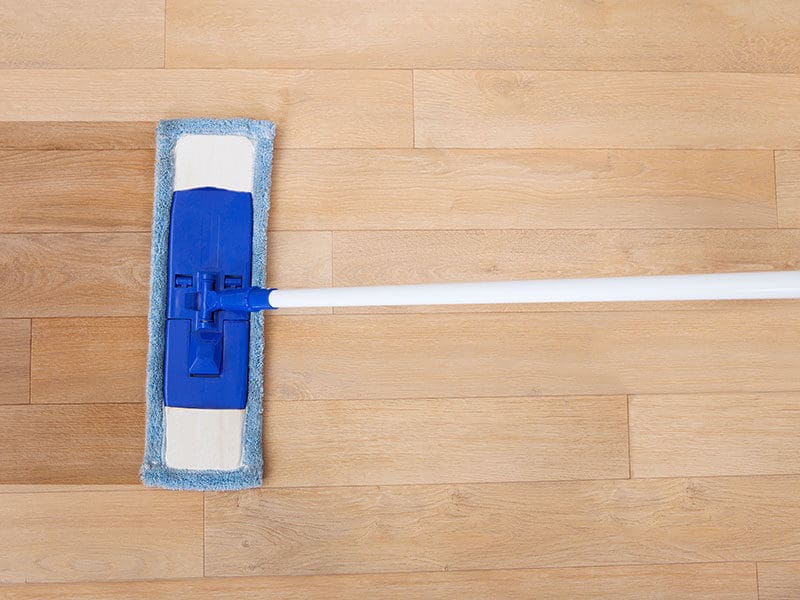
Preserving the floors in pristine condition necessitates specialized cleaning. You can use the flawless mop for cleaning hardwood floors to keep the floor clean. Moreover, it is also recommended to use a vacuum to remove dirt and debris from the floors.
Apart from having the perfect mop, you also need to find the most powerful wood cleaner on the market to help clean and maintain the beauty of your hardwood floors.
3. Protect The Floor With Area Rugs And Mats
Area rugs and mats are excellent options for protecting hardwood floors from the wear and tear of high-traffic areas or protecting the wood surface from the furniture. However, placing areas rugs in areas with a lot of direct sunshine should be avoided because it can create a visible color change over time.
You should also be sure that your new or existing preferred rug does not have any adhesive backing or synthetic backing that could be detrimental to your hardwood floors. In this case, you should choose mats and area rugs that are made of natural rubber, untreated natural rubber, jute, and urethane.
Moreover, you can also use a rug pad for hardwood floors to prevent annoying problems such as sliding, slipping, or shedding. That’s not all, using a rug pad also provides you with extra warmth every time you step on the area rugs.

4. Color Fading/Darkening
The variety in grains, textures, and colors found contributes to the hardwood’s natural elegance. Though drastic variations are uncommon, it is hard to verify absolute continuity in grain, shading, and colors.
All wood types can change color as a result of light exposure and normal aging. You should bear in mind that color fading and darkening are normal occurrences caused by the effect of UV rays, and you should not consider color fading as a product flaw.
FAQs
Here are some commonly asked questions on the market that can help you get a clearer view of how to install hardwood floors in the smartest ways.
Extra Tips For Installing Hardwood Floors
Hardwood floors add to your home with elegance, value, and warmth. And you can certainly carry out the installation task like a pro following the detailed steps aforementioned. After installing, you should clean and maintain the hardwood floors properly to keep them in good condition for several years.
I hope this post can help you successfully install the hardwood floors in your house. Do you know other ways to install hardwood floors? Solid vs. Engineered hardwood floors: which do you prefer? Do you know any tips for maintaining hardwood floors after installing them? Do you have any questions? Feel free to send me a comment, and I will try to answer you as soon as possible!
