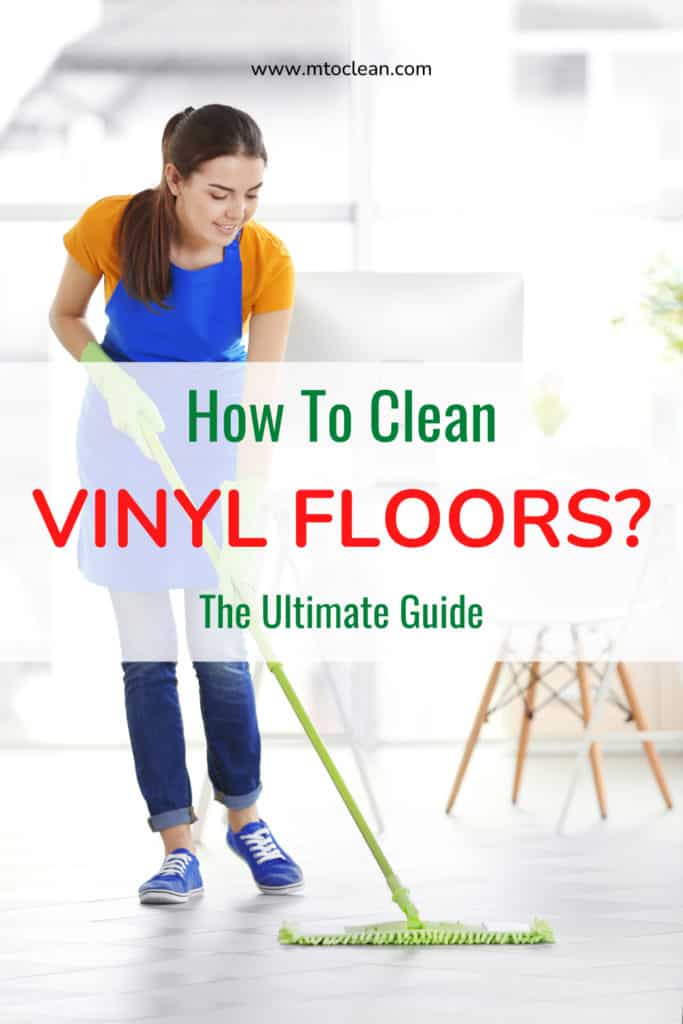
It goes without saying that vinyl floors have become one of the most popular materials in both domestic and commercial household applications. This type of flooring is water-resistant, extra durable, and serves a desired aesthetic appeal at a much economical price.
Despite its durability against frequent use and abuse, many homeowners still make minor mistakes, causing the shiny floor to get stained, scuffed, or even cracked in the long run.
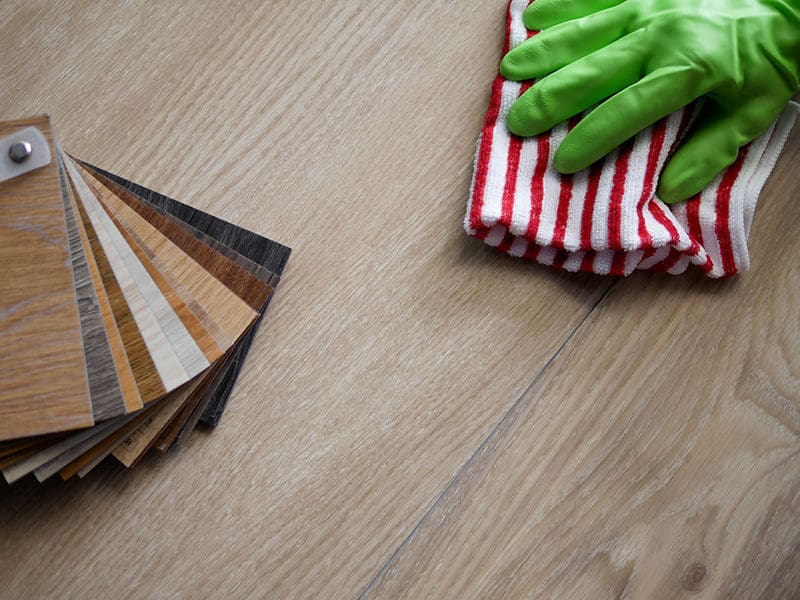
While vinyl floorings generally require little maintenances to look their best over the years, it’s still crucial to know some cleaning tips for this material. Therefore, whether quick grime pickup or intense clean-up, here are the best tried-and-true methods on how to clean vinyl floors.
What Is Vinyl Flooring?
Without a doubt, vinyl has become one of the most popular floors covering materials among homeowners everywhere. This plastic compound is formed from synthetic matters such as fiberglass, plasticizer, PVC vinyl, and others sandwiched together.
Thanks to its multi-layered build, vinyl flooring offers unsurpassable durability to withstand lots of foot traffic and standard household stains. This flooring material is also praised for its aesthetic appeal to mimic the stylish looks of wood and stone floors minus the high cost.
See also:
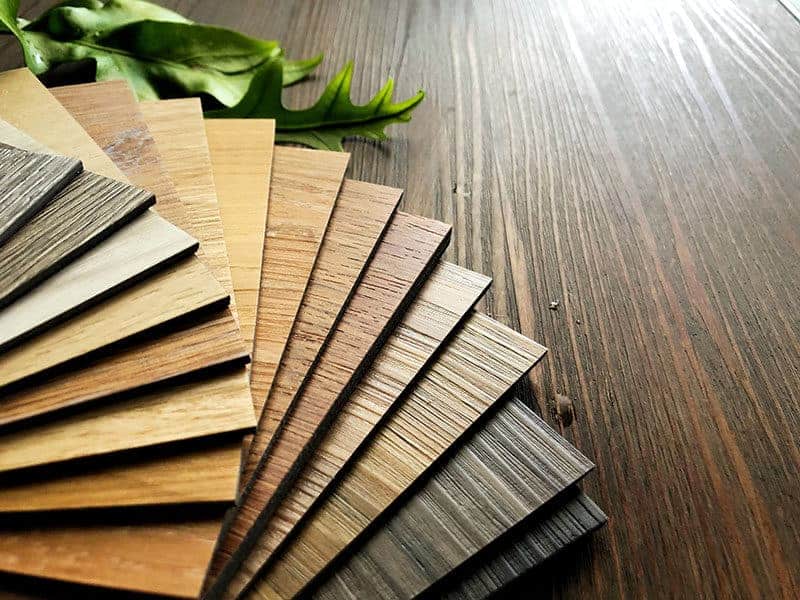
Vinyl floors come in four main categories: vinyl planks, tiles, sheets, and luxury vinyl tiles (LVT). These variations come in a host of shapes, patterns, and sizes, offering plenty of versatility to suit all room applications for many years to come.
If you’re planning a home makeover with one of these kinds of vinyl floorings, this video will give you all the details on which one you should get!
Best Tools For Cleaning Vinyl Floors
Though vinyl floorings are generally maintenance-free beyond regular sweeping, keeping a few essential cleaning tools in your storage will ensure a much safer and cleaner home.
Broom
When it comes to home cleaning essentials, a classic broom is the most effective way to get rid of dirt and debris and make efficient work of sweeping the floor. Especially, lightly sweeping with a soft-bristled broom for 20 minutes is an ideal daily routine for most vinyl floor owners.
If you lack this item in your workshop or garage, you should be sure to pick up a reliable broom for hardwood floor to make both quick pickup and intense floor clean-up a breeze.
Vacuum
Due to its versatility to tackle grimes on virtually all surfaces, a vacuum is a top-notch choice to keep your vinyl floor mess-free and shiny beyond removing hair, dirt, and dust. The more handheld features are offered, the easier you can finish the chores in a day’s work.
Moreover, it’s noteworthy that you consult some vacuums for vinyl plank floor to buy, which come without a power rotary brush head or a beater bar to avoid scratching your floorings.
Otherwise, for homeowners with a serious style of decoration, you may have different flooring options for every room in the house. In that case, a multi-surface vacuum cleaner will help you cross house cleaning off the to-do list in one sitting.
Microfiber Mop
There’s a vast range of mops for vinyl floor that you can opt for, depending on your flooring type and how bad of an eyesore it looks. These varieties range from spin mops and spray mops to electric mops, all of which are bound to offer you amazing results.
Among those, a microfiber mop’s the best bet with its high quality and durability, making it best-suited for both professional and domestic home use. This cleaning tool does a great job on vinyl floors and other flooring materials, including stone, concrete, and laminate floors.
Sweeping your floor regularly with a reliable microfiber mop will ensure to keep your house looking its best without posing the risks of stretch or scratching marks.
How To Clean Vinyl Flooring
Without further ado, the following basic three steps will help you tackle most dirt and debris on vinyl floors on a regular basis.
Step 1: Sweep Off Loose Debris
The first step to do after a long day of heavy foot traffic and other home-based activities is to sweep or vacuum away all the loose dirt and debris. It’s also worth remembering to clean in tight spots and hard-to-reach corners under your furniture.
You can use a basic broom, a soft-bristled mop, or a vacuum to easily pull dust out of cracks and crevices. If you wield a vacuum cleaner, make sure to disengage the beater bar before applications.
Step 2: MIX Up A Cleaning Recipe
There’re various vinyl cleaning solutions you can make to restore the floor’s shine. You have the flexibility to go for a commercial cleaner for less time and effort to spare or mix up a DIY cleaning recipe to save your grocery bill while using more natural ingredients in your dwelling.
If the area is quite dirty after days of heavy foot traffic, you’ll need some extra cleaning power. In this case, just fill a bucket with warm water and add a few drops of liquid dishwashing detergent.
For messy kitchen floors, adding some degreaser or anti-slip cleaner and let the mixture sit for a few minutes before running the mop through is sure to help remove that stubborn grease layer off the surface.
However, to maintain your floor perfectly, it’s noteworthy to avoid abrasive materials like scouring powder and ammonia cleaning agents as they may permanently damage the floor. Also, make sure to follow the manufacturer’s instructions and never spray it directly onto the surface.
Step 3: Mop The Floor
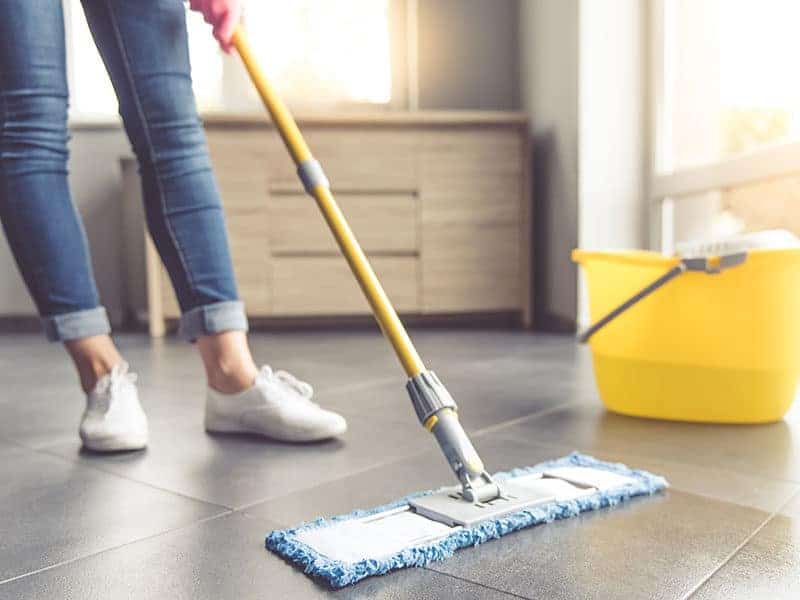
The final step to keeping your floor sparkling clean and sanitary is to dip your mop for vinyl floors into a bucket of cleaning solution and mop away all the dirt. Also, rinse your mop’s pad frequently during applications to prevent dirty water from getting back onto the surface.
Working in straight lines from one end of the floor to the other while moving backward is the best way to restore your floor’s cleanliness over all areas. For stubborn or sticky spots, a little more pressure downwards or strongly rub with a sponge or cloth can get the work done.
After the entire mopping section, you should let everything dry completely before stepping on a freshly cleaned floor. Also, make sure to rinse all your cleaning utensils like the mop and bucket before putting them away to prevent bacteria growth in storage conditions.
If you’re looking for the easiest and most effective way to mop your vinyl floor, here’re a few proven tips and tricks to get the work done with ease!
Best Ways To Clean Specific Types Of Vinyl Floors
Since there’re several varieties of vinyl floorings in the market, picking up the most well-suited method and products for your particular floor covering will ensure easy and efficient clean-up chores.
Vinyl Plank And Tile
These varieties are the most common types of vinyl floorings among homeowners. Despite being divided into 2 categories, their major differences are only in shapes and the types of floors they resemble. While vinyl planks come in rectangle cuts, vinyl tiles are shaped like squares.
Your vinyl planks and tiles can catch all guests’ attention as they walk through the door if you maintain a consistent daily cleaning routine. Sweep or vacuum surface grimes prior to mopping with a mild detergent so that dust and small stones stand no chance of scratching the finish.
If you want professional cleaning with little effort, it’s best to opt for a reliable floor sweeper or a vacuum and mop combo. Such gadgets are designed to safely work on vinyl floors while remaining harmless on the flooring’s textures.
For ground-in and deep stains that cleansers and vinegar fail to remove, you can use a baking soda paste of 2-3 parts of baking soda to 1 part water. Apply this mixture on the stain mark and gently scrub with a dry towel until the stains disappear, and rinse it thoroughly with water.
Vinyl Sheet
With a unique combination of elegance, longevity, and stress-free maintenance, vinyl sheets are often installed in all areas like kitchens and laundry rooms. Besides having no grouts or seams, these flooring items are also resilient to stains and scuffs.
Therefore, caring for vinyl sheets is easy as a pie. For everyday clean-up, a quick wipe with a sweep and a mop will get the job done. This durable material works well with both commercial cleaners and simple DIY recipes like apple cider vinegar with water.
Light stains from food residues can be picked up with ease. For a more stubborn stain, you can dampen a paper towel with some rubbing alcohol and apply it to the stain for easy removal.
Luxury Vinyl Plank (LVT)
Coming as the most top-notch option, the luxury vinyl plank has a great combination of the desired high-end look and an incredibly long-lasting lifespan.
Though it doesn’t propose future headaches regarding how to keep its appearance, here’re a couple of things to note in mind when it comes to a good clean-up routine for LVT.
Despite LVT’s superior durability, it’s not entirely resistant to scratches. Thusly, you should sweep and mop it on a daily basis to prevent debris particles and dirt from scratching its finish and cause a dull look.
Also, for maximum quality, apply a thorough cleaning session every week using a microfiber mop and a mild detergent. Rinse the floor after mopping and get rid of the excess liquid as it can leach into seams and make the cuts become loose.
If you’re all set to give your LVT a thorough makeover, have a glance at this video to make sure you’ve got everything you need on hand.
Textured Vinyl Floor
Multiple varieties of vinyl floorings feature wood-like or stone-like finishes that can give you the real feels of real stone or wood planks without any practical demerit. You’ll find a wide array of patterns and textures in the market that are easy to install and suit your home’s arsenal.
With this aesthetic appealing flooring material, regular cleaning plays a key role in keeping a stunning home that you can take pride in. By using a mop, soft cloth, or vacuum cleaner, you should remove dirt and filths to prevent a dull floor finish every day.
Next, it’s best to carry out an overall clean-up session every 2-3 days on textured vinyl floors. For a cleaning solution, mix a few drops of dishwashing detergent in warm water and execute a fast rinse-off with vinegar and plain water are likely enough to make your floor look great.
Vinyl Floor With Grout
Grout lines are designed to mimic the authentic look of real tiles. However, grout tiles tend to be a puzzle when it comes to deep cleaning. For a grout clean-up session, you should always wear gloves to protect your hands.
To get rid of the embedded dirt, you have the flexibility to use a commercial tile and grout cleaner or a homemade paste of 1 tablespoon of dish soap, ¼ cup of hydrogen peroxide, and ¾ cup of baking soda to wipe down the dirt.
Grout brush is the most effective supply when tackling ground-in buildup. But if you don’t have any in your household, feel free to take a toothbrush with firm bristles. Also, make sure to mop and rinse the whole area afterward.
In addition to traditional methods to clean unsealed grouts, another powerful equipment to tackle this job is by using a high-quality steam cleaner.
Though steaming cleaning does a fantastic job in removing dirt and gunk from grouts, it’s important that you set it to the lowest heat level to avoid overheating the floor and warping its finish.
For maximum efficiency, get to know a few crucial things on how to steam clean grouts beforehand, so that you can breeze through this chore with ease.
How To Clean Discolored Vinyl Floors
Depending on varying degrees of foot traffic and activities, your vinyl floor can deteriorate in the look with different types of grimes and scuffs.
Not only being an eyesore, but these damages also stand a chance of becoming permanent if treated improperly. Thusly, let’s spare a few minutes to get to know what’s causing your floor to look bad.
If you notice yellow patches and spots on your floor, chances are it’s developing discolorations due to core damages. There’re certain reasons behind this, from trapped moisture, unprofessionally applied adhesives, sunlight, and even reactions to chemical changes.
Before you fret over this problem, there’re preventive remedies that will help keep discoloration from your floor for good. Using specifically designed vinyl floor cleaners, window coverings, and furniture pads is recommended to avoid unsightly damages from the start.
Otherwise, if these yellow patches have already seemed to occur, stick to this easy-breezy baking soda remedy to say goodbye to these stains.
With this homemade solution, all you need are some common supplies found in any household pantry:
- Baking soda
- Clean cloths
- Water
Now, let’s flick through these steps to restore a spotless look on your floor. This homemade solution is suitable for virtually all houses and homeowners since it calls for little time and effort.
- Step 1: Put together baking soda and water to create a thick paste.
- Step 2: Dip a soft cloth into this paste and apply it on stubborn patches.
- Step 3: Repeatedly and gently rub over the area until the patches disappear.
- Step 4: Wipe all the residues with a clean damp cloth.
If you find yellow patches and lines on your vinyl floors, this goodbye-burden guide on How to clean discolored vinyl floors will give you a step-by-step solution!
How Do You Make Vinyl Floors Shiny?
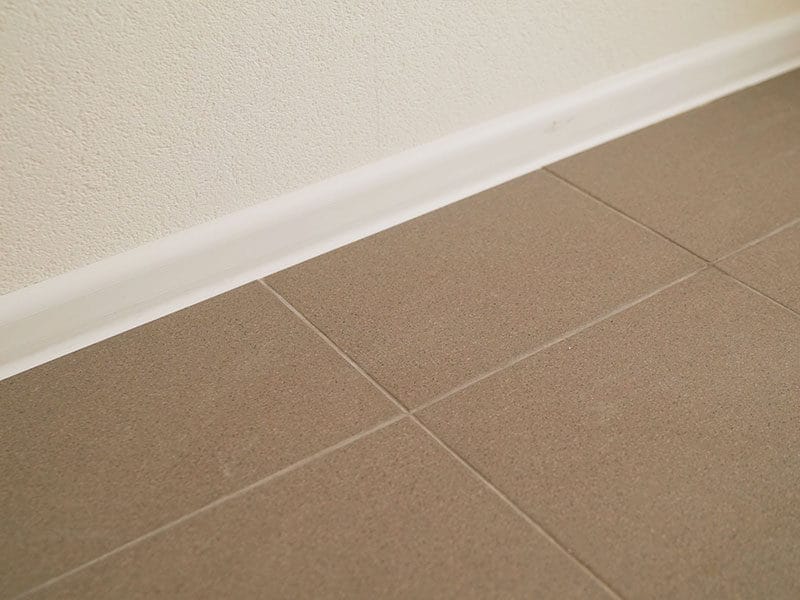
Since a vinyl floor is one of the highest-traffic areas of your house, this synthetic plastic can lose its glare over time. Here are the most proven tried-and-true remedies to put a shine back on your floor.
Baking Soda
Baking soda is a common pantry staple that excels in removing stains and restore a polishing floor due to its scouring and abrasive properties. The ingredient requires a few simple steps for a DIY project that any homeowner can carry out as follows.
- Step 1: Fill a bucket with 3 liters of warm water.
- Step 2: Add 50g of baking soda.
- Step 3: Thoroughly stir the mixture until the ingredients are completely combined.
- Step 4: Dip the mop into the cleaning solution so that it’s entirely immersed up to the head.
- Step 5: Apply the damp mop on the floor’s surface.
- Step 6: For an extra high gloss finish, prepare a homemade cleaner of alcohol and warm water.
- Step 7: Clean the floor using this DIY recipe.
- Step 8: Let it dry.
Vinegar
It goes without saying that vinegar is a true and solid workhorse when it comes to cleaning a variety of flooring materials. This acetic acid-based ingredient removes dirt and grimes minus soap buildup and unpleasant odors of commercial cleaners that our lungs seem to detest.
- Step 1: Prepare a cleaning recipe including half a cup of vinegar, one tablespoon of mineral oil, one tablespoon of liquid detergent, and one-gallon lukewarm water.
- Step 2: Mix the ingredients thoroughly until they’re well blended.
- Step 3: Immerse the mop in the bucket and rinse it before applying it to all areas of your floor.
- Step 4: Run the mop under clean water and wring the excess cleaner out completely.
- Step 5: Fill another bucket with clear water and rinse the floor to prevent detergent residues.
- Step 6: Let it air-dry up in a few minutes.
Here’s how a vinyl flooring can be restored to its former shine easily with vinegar in this video!
Egg Yolk
An egg yolk recipe is the most natural and budget-friendly remedy to make your vinyl floorings shine up. This method requires only a few steps and with no additional side effects that chemical agents may propose.
- Step 1: Put together two egg yolks and one liter of warm water into a bucket.
- Step 2: Blend until the mixture is properly integrated.
- Step 3: Use a microfiber broom to apply the mixture.
- Step 4: Gently wipe the floor with a soft and dry cloth.
Black Soap
Rather than a gentle cleaning solution, black soap, in fact, gets fewer recommendations for regular floor maintenance due to its abrasive properties that can tarnish the floor if oversaturated.
However, if you’re tackling an extra stinky floor, black soap tends to be a great life-saver to leave your floor sparkling-clean again. In this case, make sure to degrease the soap prior to use to reduce its tarnishing power.
- Step 1: Fill a plastic container with two liters of warm water.
- Step 2: Add two tablespoons of black soap into the bucket.
- Step 3: Stir the solution until it becomes homogeneous.
- Step 4: Soak the mop and wring it properly to get rid of excess water before wiping the floor.
- Step 5: Rinse the mop and the floor with clear water thoroughly.
Best Vinyl Floor Maintenance Tips
With the following peak behind the curtain, it’ll be super easy to maintain a home with sparkling and clean vinyl floorings that you can take pride in.
Use A Doormat
By triggering chemical reactions, rubber backing doormats tend to discolor and stain your floorings over time. Thusly, a non-rubber backing doormat and a vinyl floor are a match made in heaven. These include wood, jute, cotton, and vinyl-backed mats to match your interior arsenal.
What’s more, placing doormats at all entrances serves as a first-line defense against dirt, moisture, and other grime as your family and pets walk in.
Place Protective Pads Under Furniture
The most popular types of protective pads in the market are floor grippers, stick-on furniture felt pads, and nail-in felt pads. When properly positioned, these utensils are super helpful in preventing the scratching of vinyl floorings surfaces.
Another tiny yet life-changing investment is a rug pad. This pad makes a great addition to high-traffic rooms where rugs are likely to move around due to lots of activities and traffic.
Besides following your floor’s manufacturer’s directions, it’s safe to say that rubber and plastic-free rug pads for hardwood floors are the best choices for vinyl floorings. Also, if you have pads that are labeled “colorfast,” you can place them under on all area rugs with peace of mind.
Use Proper Window Coverings
For any homeowner, window coverings are super essential to protect your flooring material and other household assets from unsightly solar damages. These treatments include easy-to-find items like rollers, blinds, and custom pleated shades.
Since sunlight is the single largest reason for floor and furniture fading, lowering your blinds during the day will keep away permanent discoloration and sunspots. Also, if your house is particularly based in an extra sunny location, consider installing awnings to enhance protection.
Clean With Neutral And Soft Detergents
In fact, one of the best regular clean-up solutions for vinyl floors is simply mixing mild dishwashing soap with plain water. If you run out of these natural agents, white or apple cider vinegar are great neutral alternatives for removing ground-in dirt and mineral streaks.
Treat Stains Immediately
Rather than leaving stubborn stains from juices and sauces to air dry on the floor, it’s a better idea to remove these residues immediately, thusly prevents unwanted discoloration. For most easy clean-up, just use a soft cloth to gently rub over the stains.
If you miss some stuck-on spots, a bit of diluted bleach or a mixture of baking soda and water is likely enough to tackle harsh catastrophes. These instant treatments will ensure to keep your floorings looking new all the time.
Use The Right Vacuum Setting
While the best choice is to remove the beater bar from your vacuum o avoid leaving scratches and scuffs. Otherwise, if your vacuum has a bare floor option, make sure to choose that setting before the cleaning session to get the same effect as if you’ve had removed the beater bar.
Keep Hot Items Away
Hot objects like heaters, coals, and ashes should be kept at a safe distance from your floor. When sweeping, it’s best to use a mop that’s been dampened with warm instead of steaming hot water. This is because the heat can potentially warp the floor, causing it to deteriorate faster.
Sweep Regularly
Since the floor is a high-traffic area with lots of foot actions, grimes can be scraped to the floor as it’s dragged across, creating stubborn and hard-to-remove dirt built-up. Therefore, a frequent sweeping schedule is an old and classic way to maintain pristine vinyl floorings.
For a more detailed demonstration of tips to clean vinyl floors, you’ll find everything you need in this video!
What Not To Do?
Let’s flick through some not-to-go things when it comes to maintaining vinyl floorings at their best through the years.
- Don’t apply wax or polish on the flooring surface to restore the shine.
- Don’t drag heavy and hefty items across the floors because they’ll potentially leave scratch and stretch marks.
- Don’t use full-strength abrasive cleaners to scrub the dried stains away.
- Don’t leave rolling caster attachments on furniture and commercial cleaners.
- Don’t scrub heavily stained floors with a stiffed bristled scrubber or a steel wool.
- Don’t use cleaning agents with anomia-based ingredients or scouring powders, as they can break down the vinyl and create cracks across the floors.
- Don’t use any abrasive scourer when scrubbing embedded dirt as it can cause damages and scratches to the surface.
FAQs
Before getting straight into the job, here are a few questions regarding how to clean vinyl floors, so you can cross floor clean-up off the to-do list in no time.
Get Your Floor Sparkling Clean!
Above was everything you need to know to keep a squeaky-clean vinyl floor that’ll dazzle every guest walking through the door. Now that you’ve got the knowledge packed don’t hesitate to start acting from today with all these proven solutions.
In cases where your floor is desperately filthy with lots of ground-in dirt to get rid of, consider contacting a professional group to get the work done without any hassle for you. From then, it’s best to apply regular and deep clean-up sessions that suit your schedule.
Before you take action, I hope this post has given you some helpful tips and tricks that you can practice in your real life. If there’s any question you have regarding how to clean vinyl floors, please don’t hesitate to leave it in the comment section!
