Are you having trouble with insects, especially bugs that keep clinging to your vehicle? If you are in states with a high density of bugs, you will encounter bugs on your windshield and other vehicle parts such as the front bumper and hood more than once. This could pose a hazard by blocking visibility or if frequent, acidic dead bugs could cause damage to the vehicle.
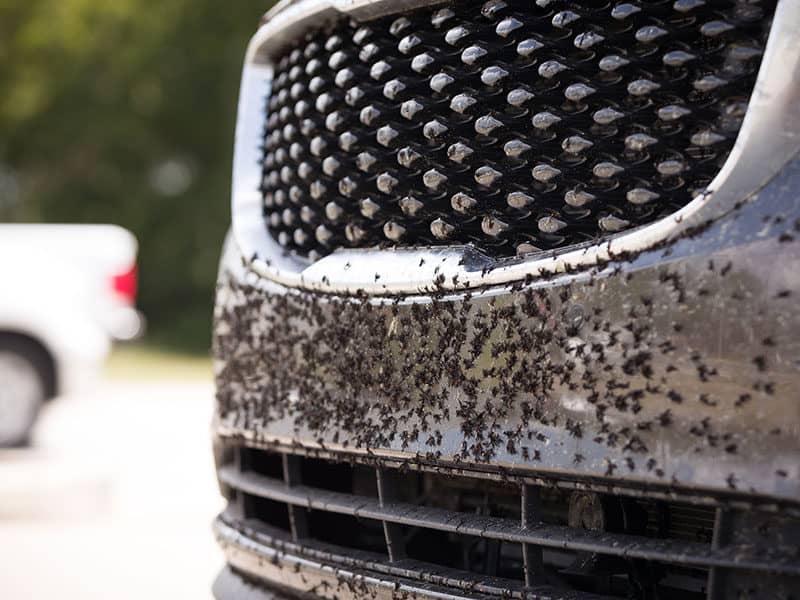
Don’t be worried about that. In this article, I will give you some tips to knock the bugs out of the car and also give you several ways to keep your car free from insects. I promise to always provide the most useful and quality information for your needs.
Let’s begin and solve your problems.
What Are The Best Ways To Remove Bugs From A Car Without Damaging Paint?
You don’t know where to start to make the cleaning work go smoothly, do you? No need to worry anymore, now let’s get started.
Some Common Bug Removers For Cleaning Bugs Off A Car
Dead bugs and stains are not usually easy to clean with normal cleaning. Some detergents are specially formulated to remove stains from the surface of your vehicle. And with that are some methods you can use if you don’t want to buy another car care product.
See also:
- Top 15 Best Vacuum Cleaners For Car Detailing in 2023
- Top 15 Best Wheel Cleaners To Buy in 2023
- Top 15 Best Car Window Cleaners To Buy in 2023
- Top 14 Best Car Vacuums For Pet Hair in 2023
- Top 15 Best Portable Car Vacuums To Buy in 2023
- Homemade Rim And Tire Cleaner: How To Make By Yourself?
- Top 15 Best RV Vacuum Cleaner Reviews in 2023
- Top 15 Best Fuel Injector Cleaner Reviews in 2023
1. Bug Mitt
These are highly effective double-sided scratch-resistant gloves that can hold a lot of soap and water to make your cleaning even easier. They are resistant to heat, petroleum, and detergents, with a high-impact mesh helps to quickly remove bugs along with dirt on the windshield.
If the bedbugs are relatively new, you can use this tool to get rid of them. Used with conventional car soap, the abrasion of soft foam and mesh is sufficient to thoroughly remove new traces.
2. Dryer Sheets
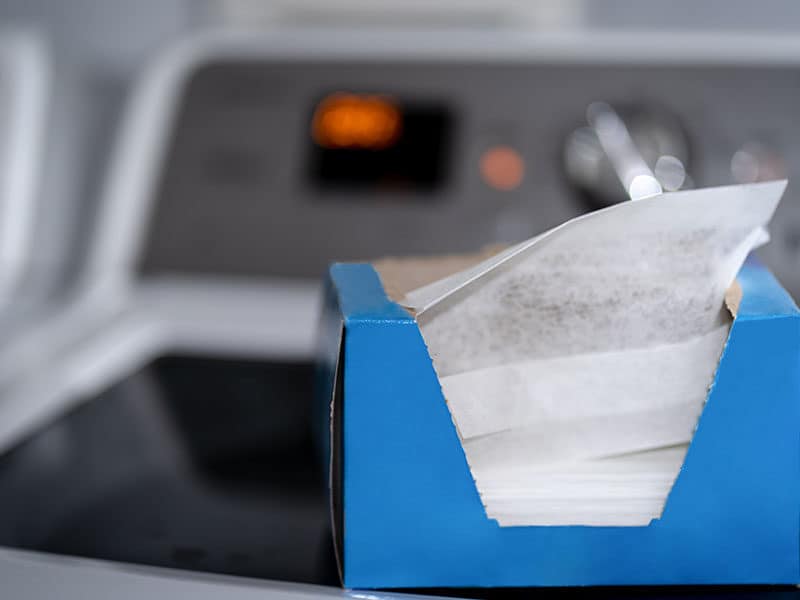
These dryer sheets have properties that can help you thoroughly remove stains, or any stubborn bitumen or sap that cannot be removed by normal washing.
You need to wet the sheets, then rub them over the insect area with mild to moderate pressure. There will be a bit of residue left over so wash the area thoroughly afterward. There are some tips that you can put a dryer sheet in a spray bottle filled with warm water, then spray on the area, then use a microfiber cloth to clean it.
3. WD-40
WD-40® stands for Water Displacement, the 40th formula, used by the chemist Norm Larsen, who developed the product in 1953. He tried to prepare a solution to prevent metal corrosion.
It has many uses including removing stains and dead insect stains on car surfaces. You just need to spray this solution on car surfaces that need cleaning, wait a few minutes, and wipe with a clean cloth.
4. Bugs And Tar Remover
The products contain chemicals and solvents that can dissolve tar and bug stains on your vehicle, making it easy to clean the surface of your car without scrubbing or damaging the paint. To use it, simply spray the detergent on the surface, wait a few minutes for the detergent to work, then wash the car as usual. There are two main types of bugs and tar remover that are aerosol and spray bottle products.
- Spray bottle: With the spray bottle product, you can adjust the nozzle according to your preference such as concentrated stream spray or mist type. Spray bottle cleaners can be annoying if you have a lot of stains to remove, but they do a good job when you refill the product when the bottle is almost empty.
- Aerosol: As with any aerosol, pressure insecticides usually spray and foam, which is helpful if you don’t want to pull the trigger for an extended period. Just make sure you don’t drop the nozzle out of the can itself. However, aerosol insecticides can also reach the smallest surfaces to preserve every corner for future use.
Helpful Tips To Remove Bugs Off Your Car
Here, I will recommend some useful tips to clean your car efficiently as well as protect your vehicle’s surface after cleaning. Let’s begin.
1. Do Not Put Pressure On Your Vehicle
While this is tempting when you just need to blow up a bug in your car with a pressure washer, it can damage more of the exterior decorations than anything else.
The best way to clean is to first soak the affected area by rinsing thoroughly with water or cleaning solution at low pressure, then apply plenty of car wash solution with a hose. Note that never use household cleaners or detergents on the paint surface as they may damage the vehicle’s paint finish.
You can clean your car in small areas (preferably when parked in the shade) and wash each area thoroughly after finishing. Special care should be taken to avoid the use of any chemically corrosive cleaners.
2. Ivory Bar Soap May Better Than Others
Some common insects just parked on the surface of your vehicle can damage the paintwork. Their bodies produce a highly acidic active ingredient that can corrode bare metal if left on long enough, even when sprayed with protective paint. These stains are easy to spot because they do not come off during normal cleaning or washing and they are usually as small as a quarter of a coin.
However, you can go inside to find the solution in your bathroom with only Ivory bar soap. The stearic acid in soap is a saturated fatty acid and is also an important ingredient in cleaning stains.

Just rub a wet cloth on the bar to create a small amount of the soap mixture, then apply the mixture to the stain without rubbing too hard and just let it sit for a few minutes. Rinse well and the stain will disappear.
If there is still any discoloration, the stains may stay on for too long.
3. Keep The Car Clean
Whenever you have your vehicle perfect and immaculate, the simplest method to keep it sparkly is to cover it with great wax. The wax will make a hindrance between your vehicle and the bugs and also make it simple to wash the following flood of bugs on your vehicle. You additionally need to avoid colored or tinted waxes or anything set apart as “polished” and stay with a quality brand like Turtle or Megui’s.
Besides, the windshield can be protected from insects from their own coating, rain-treated layers like Rain-X or Aquapel, these layers can also partially reduce the insect’s influence on the vehicle.
How To Clean Bugs Off Your Car?
To have a clean vehicle surface, you must go through the following cleaning procedures.
1. Wash Your Car
If your vehicle has a lot of dirt on it, you should wash it thoroughly before handling any bugs and/or bug stains. This will help you see more affected areas or insect attachments.
Before starting to clean, please remove your vehicle from direct sunlight. This will ensure that your water and cleaning products are less volatile while you are working. While washing the outside of your car, you can refer to buy interior car cleaners to clean directly the car’s interior. Or if you are a person who uses a vacuum cleaner to clean seats as well as car interiors, you can consult more about the best car vacuum cleaners.
What you need:
- Cleaning system with 3 water buckets in which: 1 bucket contains clean water and clean soap, 1 bucket only contains water, the 3rd bucket only includes cleaning products and water is for wheels use only.
- Car wash soap.
- A pressure washer is attached to the water supply.
- Wash mitt.
Step 1: Cleaning The Wheels
Let’s first tackle the 4 wheels – the rough part of the car. For now, you only need to use the water tank for the wheel that has been prepared in advance.
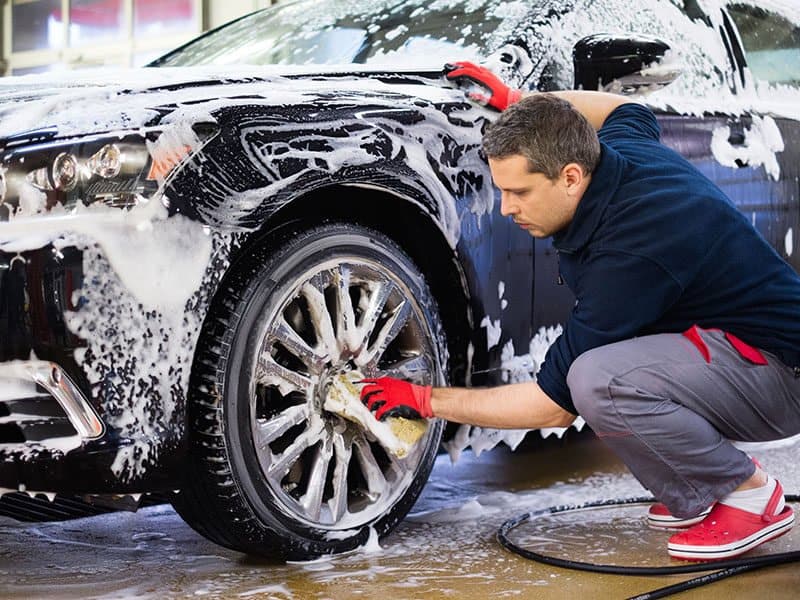
You should avoid getting the cleaning products on your tires because the tires may spray the residue onto the paint while you drive later. One piece of advice is that you should clean the wheel with a tire cleaner.
Some detergents work best with certain surfaces, such as certain paints or aluminum, and you can usually find this information in your vehicle’s owner’s manual. You won’t want to damage your wheels just because of misuse of the product. You can also check out some more products to help clean your wheels better.
The detergents that cling to a tire appear slippery and can negatively affect a tire’s ability to grip the road. So remember to thoroughly spray your wheels with water to rinse off any detergent when you’re done. You should use a spray nozzle with moderate strong pressure to spray your car’s wheels. The wheel contains the most dirt and debris, so it needs to be cleaned carefully. Spray around the wheel wells, as well as under the vehicle to remove brake dust.
Step 2: Cleaning The Headlights
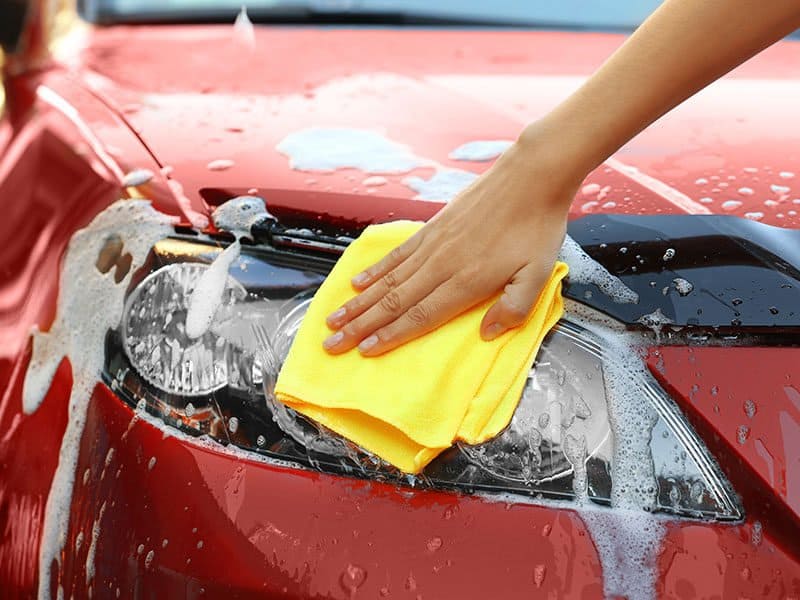
Plastic headlights can turn dull and yellow over time, making them less effective on the road. Stained headlights can spoil the look of a shiny clean car, so this might be the golden time to fix that.
Headlight restoration cleaning products are easy to find on the market, and many include a UV-blocking component to protect your headlights from sun damage.
Take note that to clean your headlights, you will need to use duct tape to cover other surfaces around your lights. Then wipe the headlights with a detergent solution and rinse with a damp cloth when you’re done. If there is a protective solution in your kit, use it last.
Step 3: Cleaning The Body Of Your Car
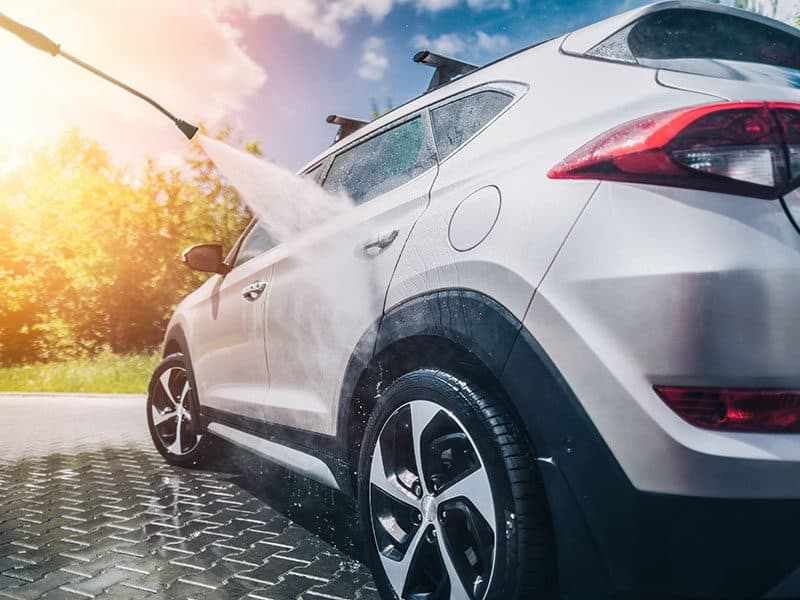
Splash the whole body of the vehicle with water to wash away soil from the surface, free particles like residue, dirt, and mud, and give your vehicle decent water covering.
Utilize two arranged cans of water – one without a cleanser and one with a cleanser. Use vehicle cleaning arrangements, as family cleaners can strip the wax on the paint or harm the completion. An expert vehicle cleaning arrangement will likewise assist the water with framing into plaques and particles, helping the drying interaction quicker and lessening the presence of water spots.
You use the soap bucket to lather your car and the bucket of water will be used to wash off dirt and debris after you clean each area. The wiper must be dust-free, otherwise, it could scratch the paint when you clean it.
At the point when you have wrapped up cleaning each part, wash the region so that no cleanser will stay in it. Clean the back of the vehicle last, as this is a dusty zone. Besides, if you want to check the carburetor a bit while cleaning your car, you can see the carburetor cleaning products, because once the carburetor gets dirty it can make it difficult to move the car.
Step 4: Cleaning The Car Window
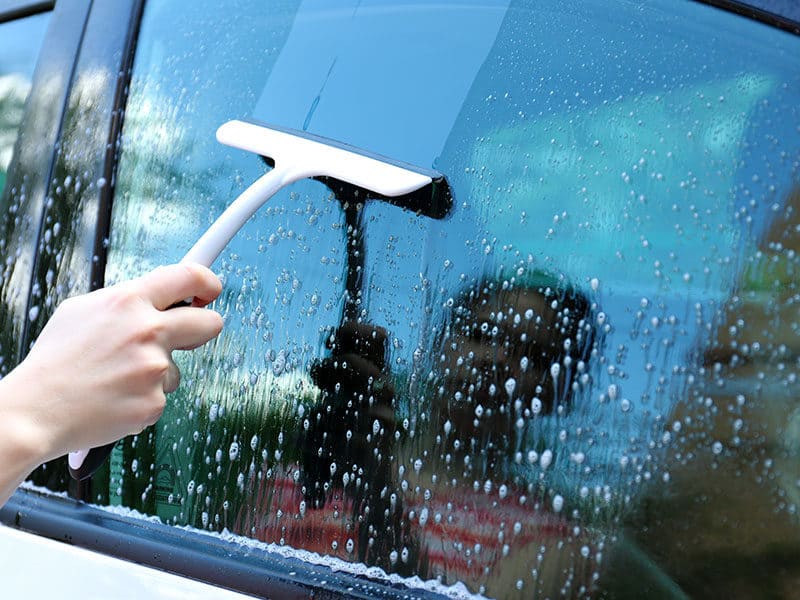
This is another part of a car that needs to use the right important products. Household glass cleaners often contain ammonia that can damage the exterior glass of a car. Use a car window cleaner instead. I recommend cleaner products for car windows for you to choose the right product easier.
To start cleaning car windows, you need at least 2 microfiber towels and a dedicated glass cleaner. First, wet a microfiber towel with water and car wash soap. Next, wipe the windows with a clean cloth until debris and particles are no longer visible. Rinse windows with clean water. Finally, dry with a second microfiber towel. Do the same with other windows.
Step 5: Rinse And Dry
You have flushed all aspects of the vehicle, if it’s not too much trouble, eliminate the pressing factor hose from the hose and wash the vehicle with free-streaming water. Beginning from above and cleaning your direction, ensure you don’t leave any cleanser stains.
The last advance is to utilize a dry fabric or microfiber material to delicately and completely dry the vehicle. Evade family wipes and utilize a fabric to cover your vehicle, with little scouring or pressing factor. Extract the water from the fabric and continue to dry until you reach each spot and you will have a perfect, gleaming completion.
2. Eliminating Bugs And Sap On The Painted Surface
Bed bugs and sap will dry out on the paint whenever left on for quite a while, making them very hard to eliminate. There are various items available that can be utilized to eliminate stains and sap from your vehicle paint. In spite of the fact that they can comprise of various materials, they all work a similar way.
And then, I will show you how to remove bugs and sap off your car in only 4 steps. Let’s begin.
What you need:
- Bugs and sap cleaner that I have mentioned above.
- Clean microfiber cloths.
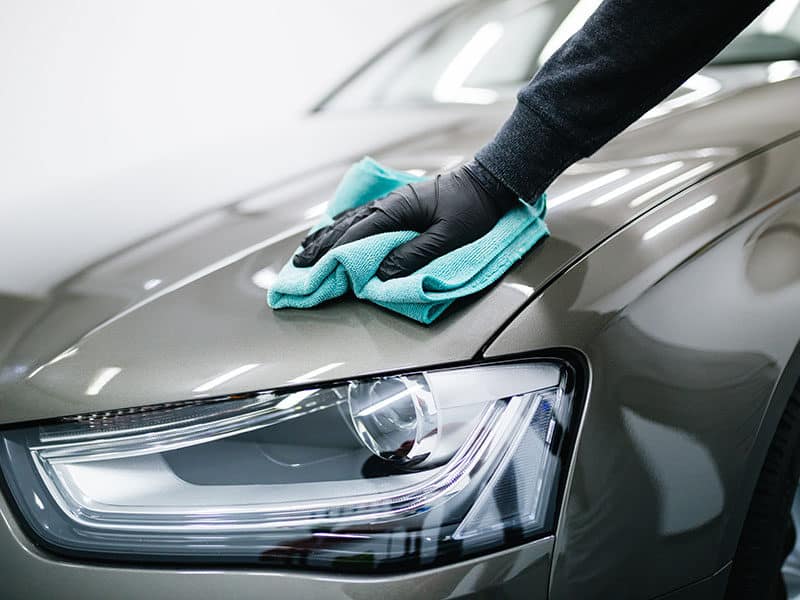
Step 1: Soak Your Clean Cloth With Detergent
You should wet your cloth just enough to be able to wipe the detergent into your car neatly and quickly. It is necessary to align the correct amount so that the detergent is not completely saturated.
For dirt and tar detergent, follow the instructions on the bottle. For WD-40 or the remaining drying plate and spray solution, follow the instructions provided above.
Step 2: Apply Cleaning For Mula Onto The Car
Spray or apply your picked cleanser on territories with plenty of bugs or sap. Wipe off dirt with wide swipes on the influenced piece of the vehicle’s paint covering. You may have to douse the bugs and sap for a couple of moments to mellow them, notwithstanding, this will rely upon the cleaning solution you are using.
Step 3: Scrub Off Any Stains
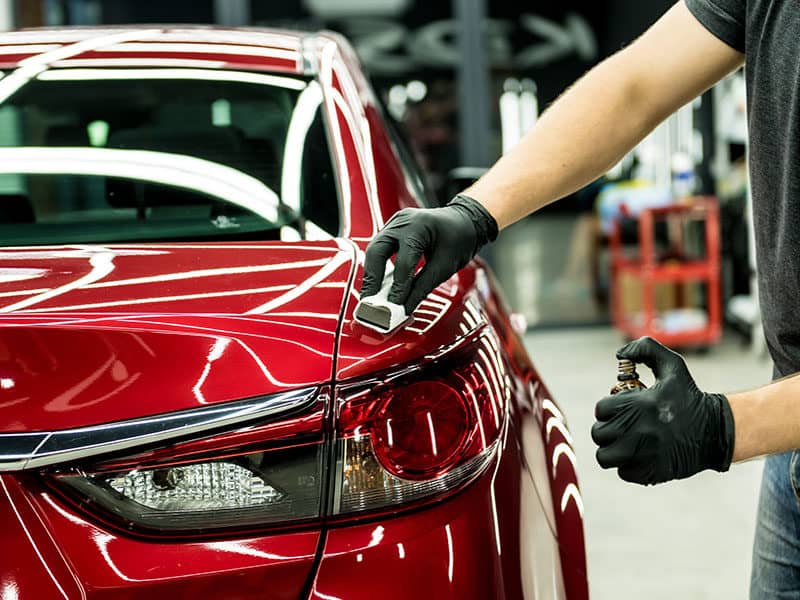
The next thing to do is to use your finger in the cloth or part of the cloth tightly rolled up, take a microfiber cloth or sponge and carefully rub the area to remove the sap stains and the dead bodies of the bugs, rubbing it hard against the stuck spot with strong pressure.
Bugs and sap will appear little by little on your fabric. When your fabric gets dirty from the residue, flip it over to use a clean section and replace the fabric if needed.
Continue the process on any sap that has accumulated and the bug remains. Then rinse the treated area, you can repeat steps 2 and 3 until the stain is completely gone.
Step 4: Wash Your Car Again
Double-check your car for bugs or sap. If it still persists, perform the cleaning, and repair it using steps 1 through 3 that I stated above.
After you have removed all bugs and sap from your car, rinse your car using the same technique as in part 1 above. After that, you will get a new shiny car.
3. Remove Bugs From The Car Window
Your car windows are made of tempered glass. So they are very susceptible to scratches if you use a slightly sharp cleaner to clean them without the correct technique.
Automotive glass defect cleaners are good at removing stains and sap from the glass, although they can leave a similarly difficult to remove slippery residue. There are 6 steps to clean your car windows to make them shiny.
What you need:
- Glass cleaner for cars.
- Green scouring pad, fine steel wool, or razor with a new blade.
- Microfiber towels.
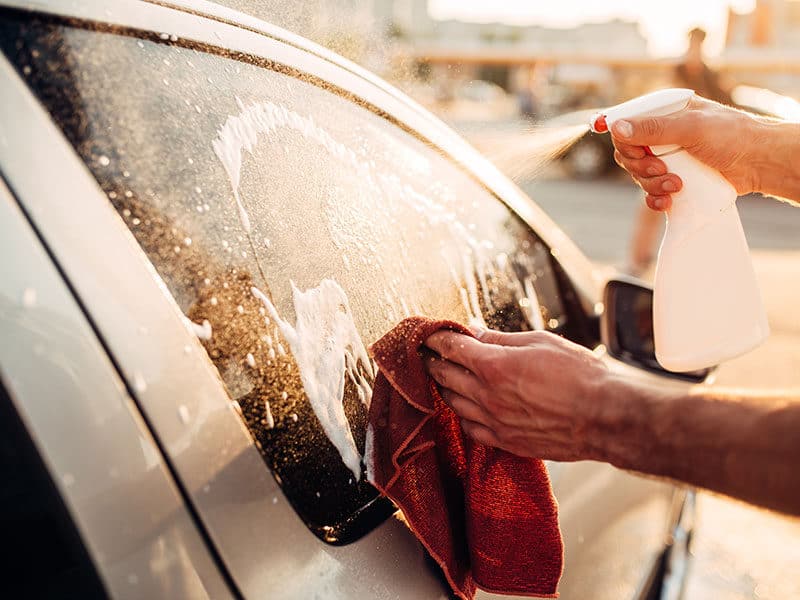
Step 1: Spray The Foam Glass Cleaner On The Windows
Spray the glass cleaner on the windshield, and let it sit on the windows for 15-30 seconds before moving on to the next step.
It is important to keep in mind that always work with well-sprayed glasses with a foaming glass cleaner. Glass cleaner works to prevent scratches caused by the abrasion of the wiper or towel.
Step 2: Use A Removal Tool To Remove Dirt On Windows
On the off chance, you are using a razor, keep the blade at a point as close as possible to the parallel to the glass. If it’s too perpendicular, it could hit the glass and scratch it.
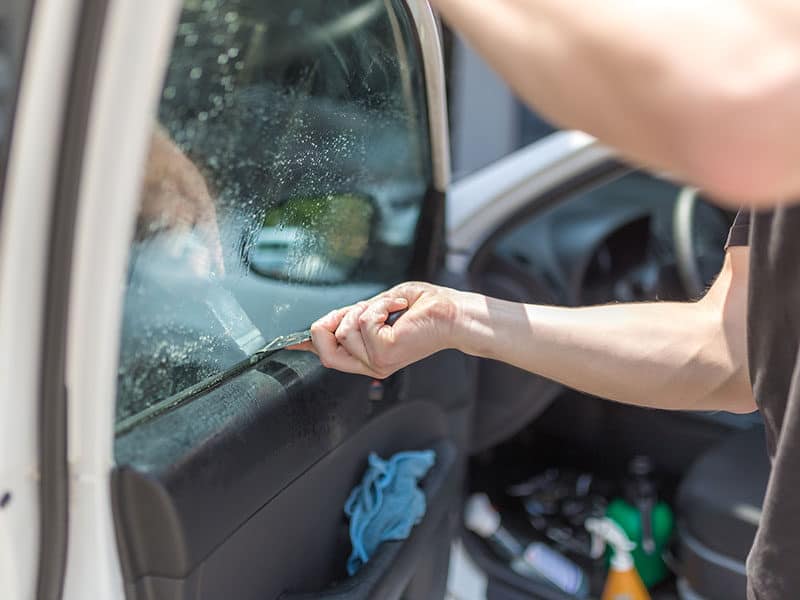
Otherwise, if you are utilizing fine steel wool or a scouring pad, utilize extremely delicate power in a round movement.
Step 3: Wipe All The Window
You should start wiping from one corner of the window, working from one edge of the window, and then out the window to ensure you cover the entire surface.
Step 4: Wipe Off Any Dirt
Subsequent to cleaning the whole window, clear it off with a paper towel or microfiber fabric to dispose of bed bugs and sap.
Step 5: Clean Windows With A New Glass Cleaner And Towel
You should spray the foaming glass cleaner directly on the window. Wipe in multiple directions, vertically, then horizontally to achieve a streak-free finish. If streaks appear, repeat Step 5.
Step 6: Repeat On Other Windows
Perform steps 1 through 5 in sequence for each window that has bugs or sap stains on it. By following the steps and suggested instructions above, you will soon have a car with no residue left.
4. Apply Car Wax
Utilizing vehicle wax will make it simpler to eliminate the stain later on. The wax covering will make it simple to clean the car and keep bugs from adhering straightforwardly to the outside of your vehicle.
What you need:
- Car wax solution.
The greater part of the cleaning strategies referenced above, for example, WD-40 and dryer sheets can eliminate the wax on your vehicle. Thusly, after washing your car, remember to re-apply the wax. You ought to adhere to the directions on the item to guarantee the right application.
There is no single most ideal approach to dispose of bugs from your vehicle’s paint, however, whichever technique you pick, consistently make a point to take care to try not to scratch your vehicle. When cleaning your vehicle, consistently start with a light pressing factor – don’t be excessively unpleasant with it. On the off chance that you discover the light pressing factor isn’t working, progressively increment the pressing factor.
How To Protect Your Car From Bug Stains?
In spite of the fact that you realize how to eliminate stains from your vehicle, it’s smarter to know how to shield your vehicle from bugs in any case. This will make cleaning the car simpler over the long haul.
1. Protective Coating
As you know, they are usually in the form of a solution or wax that is sprayed onto the vehicle. They come in various structures, however, as a rule, these items work by making the outside of your vehicle more elusive so that bugs will not adhere to your paintwork. There are some various products you may refer to and try to use them.
- Car Wax: As you probably already know, the main job of the wax is to make cleaning easier by creating a barrier between your transparent coat and the rain, bugs, and outer elements to protect the paint. Waxes can be effective at keeping smaller insects like rodents and flies off your vehicle. After you remove all dry faults from your car, always remember to protect areas like the hood and your bumper with good wax. Wax is likely the most essential type of assurance against bugs, however, it’s a smart thought to keep your vehicle gleaming.
- Bug Barricade: This is a water-based recipe that makes an elusive surface ideal for rough terrain vehicles. In contrast to wax and cleans, this item makes a hazy film to keep bugs from adhering to your straightforward coat. After washing and drying your vehicle, just shower it on and get a microfiber towel or wipe to spread equitably absurd. Keep in mind that this is a short-term repel product and can only protect for a few weeks, so it’s perfect for short travel trips or outdoor picnics.
- Bug Deflector Shields: Perhaps the most productive piece of hardware for trucks and SUVs is a bug deflector shield. These shields are ideal for trucks and SUVs in open-air regions, yet they can likewise be utilized for cars. These screens are generally connected to the underside of hoods with 3M tape and arrive in various shapes and plans.
2. Protective Films
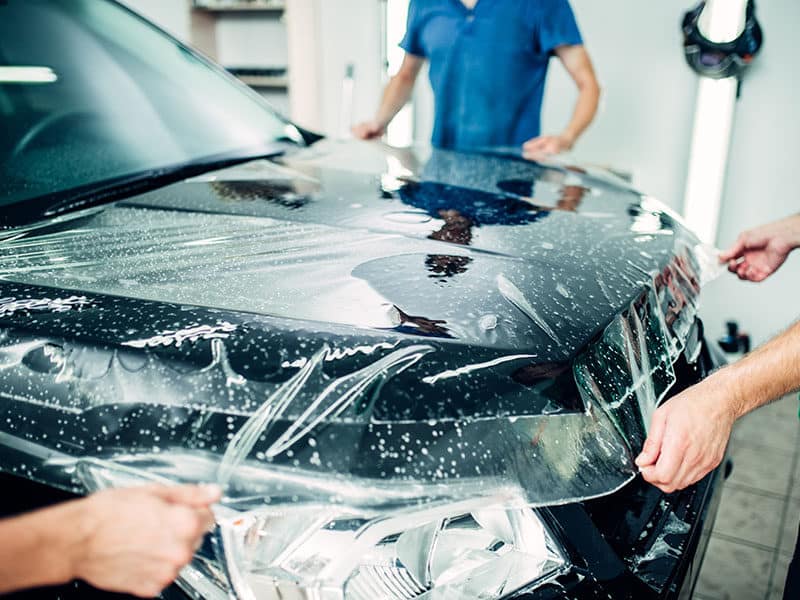
Also known as inner bras, these films are briefly attached to the vehicle to maintain the finished paint finish of the vehicle. A temporary but effective approach if you are concerned about the paint being damaged or corroded, the defensive film is meant to block out small stones and can be an alternative if you are looking to preserve long-lasting paint. These substances are guaranteed against stains because bugs will stick to the film instead of painting your car.
In any case, for best results, you will ask a gifted technician to apply them.
These should be reapplied after a while, but great in case you’re hoping to make sure the exterior of your car is as far away as possible.
3. Painter’s Tape
In the event that you will sacrifice the aesthetics and you will not go for quite a while, you can decide to stick the artist’s tape onto the outside of your vehicle. The kissing bugs will adhere to the tape rather than the outside of your vehicle, at that point you should simply eliminate the wrap toward the bugs off.
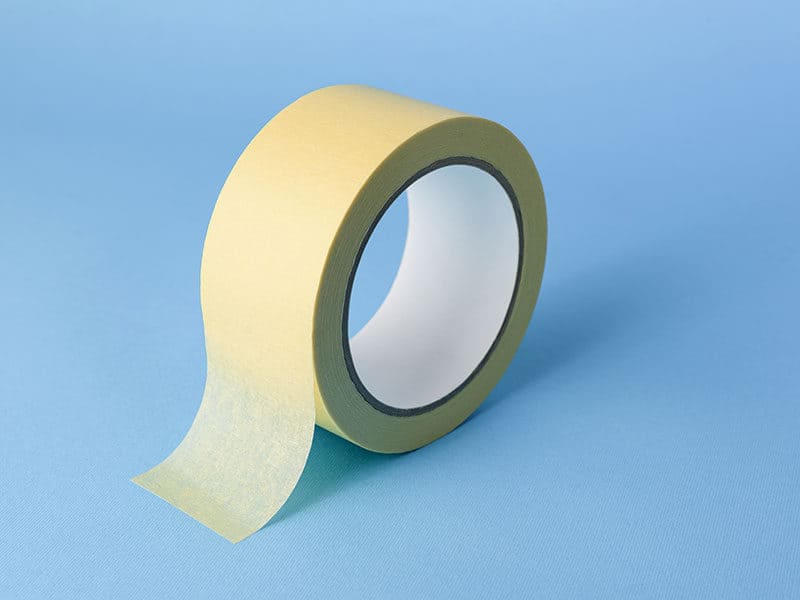
Tip: For the periodic end of the week trips, in places where you’re out on your way, or to regions where bugs are inclined, you can stick the artist’s tape onto the grill, side mirrors, and pumper as an approach to simple accelerate blunder evacuation. Simply try not to leave the paint on a superficial level for quite a while and I don’t suggest utilizing it on all vehicles.
4. Protecting And Shielding Windshield
On the off chance that you live in a territory where you can’t get your vehicle into your carport around evening time, a windshield cover can be a decent alternative to keep bugs from adhering to your windshield around evening time.
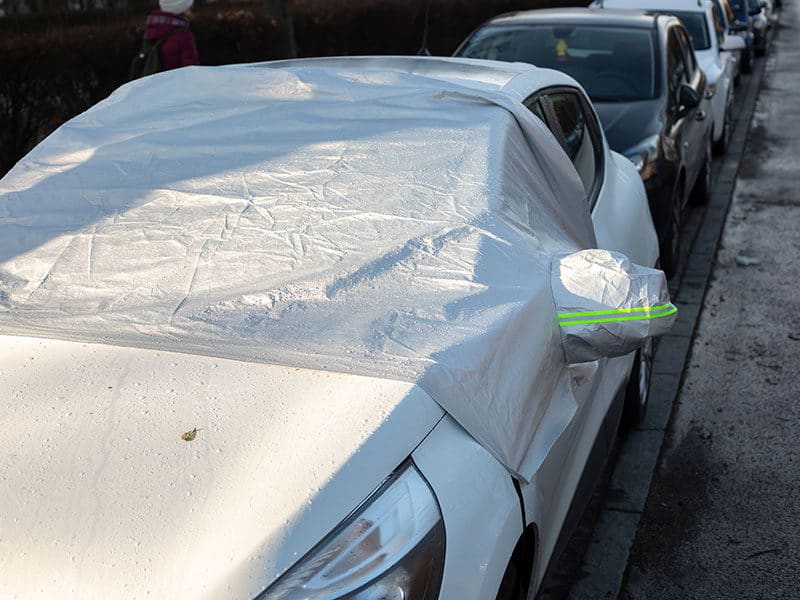
In the event that you have an old vehicle, you can apply insect repellent to your windshield to help stop bugs in the morning. Try not to shower the insect poison on the paint, as the cleanser contained in the bug splash can harm your unmistakable paint whenever left on a superficial level.
FAQs
Some questions are asked frequently when people do remove bugs from car paint. You can read and have more information about the tips to protect your car.
Extra Tips For Cleaning Bugs Off Your Car
Wet a towel with the cleaning item and spot it on the influenced zone for a couple of moments is a decent path for the cleaning item to drench into the yellowed zones of your vehicle.
When cleaning the windshield, you should avoid using an oil-based item as it will leave buildup on the glass.
If you are washing your vehicle physically instead of utilizing a vehicle wash administration, try to utilize a spotless towel and a container of new cleanser and water to clean your vehicle instead of using the towel you just used to wipe away bug stains.
Notwithstanding their appalling appearance, a great many people stand by for weeks before cleaning the dead bugs from their vehicles. While this may appear to be innocuous, it can harm your vehicle’s paintwork as the buggy is acidic. This is particularly valid for more obscure vehicles, as they will in general pull in more warmth during the sweltering late spring months. So make it a propensity to tidy up each bug in any event once every week to try not to any last harm.
